What Are Audio Interface Inputs and Outputs?
At its core, an audio interface is a signal-routing hub. Inputs capture sound from microphones, instruments, or line-level gear and convert analog signals into digital data your computer can record. Outputs do the reverse — they convert that digital audio back into analog signals you can hear through speakers or headphones or send to external processors.
The total number of inputs and outputs (I/O) on an interface determines how many sources you can record simultaneously and how many separate destinations you can route audio to. A 2-in/2-out interface lets you record one stereo source and monitor back through one set of speakers. A 24-in/24-out setup can handle full band tracking with multiple headphone mixes and outboard effects returns.
Understanding I/O isn’t just about counting jacks. It’s about knowing which connector types work with which gear, how signal levels interact, and how to route audio efficiently for both recording and mixing. That’s what we’ll cover here.
Common Audio Interface Input Types
Understanding XLR Inputs for Microphones
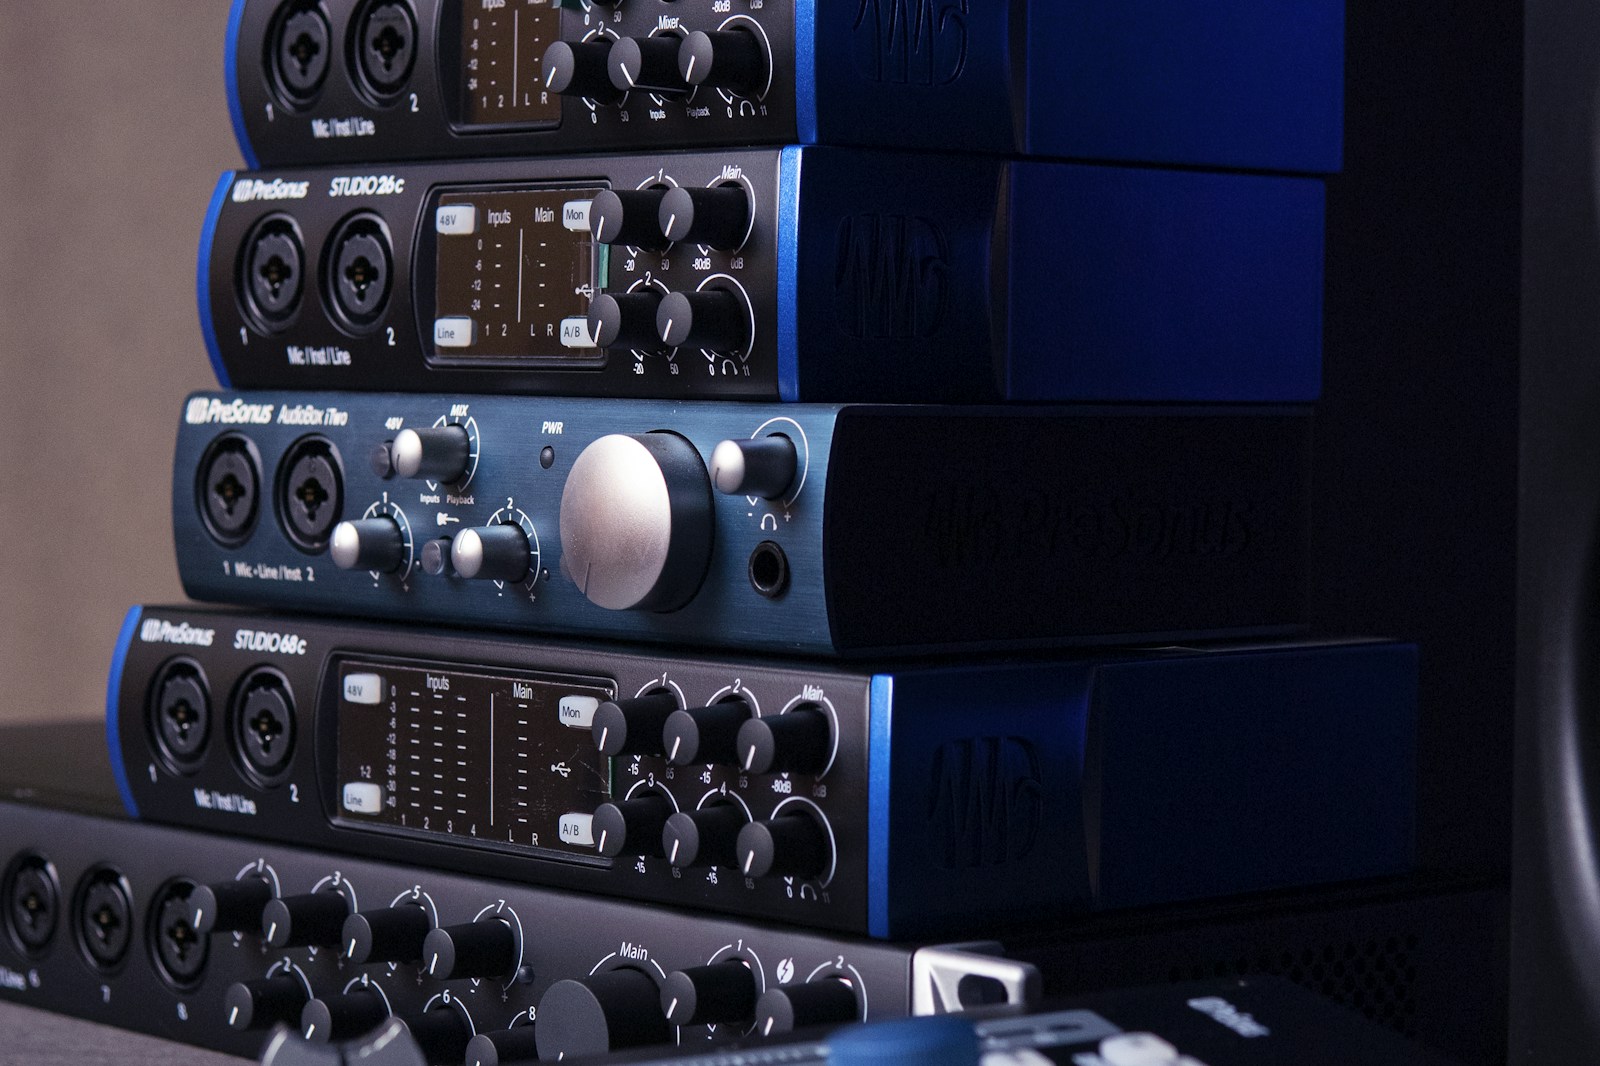
XLR is the professional standard for microphones. These three-pin connectors carry balanced audio, which means they reject electrical noise picked up along the cable run — crucial when you’re running long cables on stage or in a studio with lots of power cables nearby.
Every XLR input on an audio interface includes a preamp that boosts the microphone’s weak signal (typically a few millivolts) to line level (around 1 volt). Most interfaces also provide +48V phantom power through the XLR pins. You’ll need phantom power for:
- Condenser microphones — require 48V for their internal electronics and polarization
- Active ribbon microphones — some modern ribbons need power for their internal preamp
- Active DI boxes — some direct boxes draw power from phantom
Dynamic microphones like the SM57 or SM58 do not need phantom power and are not damaged by it — though it’s good practice to keep phantom off when plugging or unplugging to avoid pops.
Ribbon microphones are the exception: do not apply phantom power to passive ribbon mics. It can damage the ribbon element. Check your manual before connecting.
TRS and TS Inputs for Line-Level Gear
Line inputs accept signals that are already at line level — synths, drum machines, external preamps, or audio interface outputs from another device. You’ll find two variants:
- TRS (Tip-Ring-Sleeve) — stereo or balanced mono. Balanced cables carry the signal on two conductors with opposite polarity, canceling noise over longer runs. Balanced TRS is standard for professional gear operating at +4 dBu.
- TS (Tip-Sleeve) — unbalanced mono. The signal travels on one conductor, the ground on the other. Unbalanced lines are more susceptible to noise, especially over longer distances. They’re common on consumer gear operating at -10 dBV.
Mismatching levels is a common mistake. If you plug a -10 dBV consumer synth into a +4 dBu input without a pad, it may sound quiet or require heavy gain. Conversely, sending +4 dBu into a consumer input can clip. Many interfaces include a switch to toggle between the two standards.
Hi-Z Instrument Inputs for Guitars and Basses
Instrument inputs, often labeled Hi-Z or Inst, are designed for high-impedance sources like passive electric guitars and basses. These pickups produce a weak, high-impedance signal that needs a matching input impedance — typically around 1 megaohm — to preserve high-end frequencies and maintain tone.
Plugging a passive guitar into a standard line input results in a dull, muffled sound because the low input impedance loads down the pickups and rolls off the treble. Hi-Z inputs solve this.
If your interface doesn’t have Hi-Z inputs, you’ll need an external direct box (DI) to convert the high-impedance signal to low-impedance balanced line level. Active pickups, like those in many modern basses and some electric guitars, already have a built-in preamp and can often work with a standard line input — but a Hi-Z input still sounds better in most cases.
Quick rule: passive instruments use Hi-Z. Active instruments can use line if Hi-Z is unavailable, but test both to see which sounds better.
Common Audio Interface Output Types
Monitor Outputs: Connecting Studio Speakers
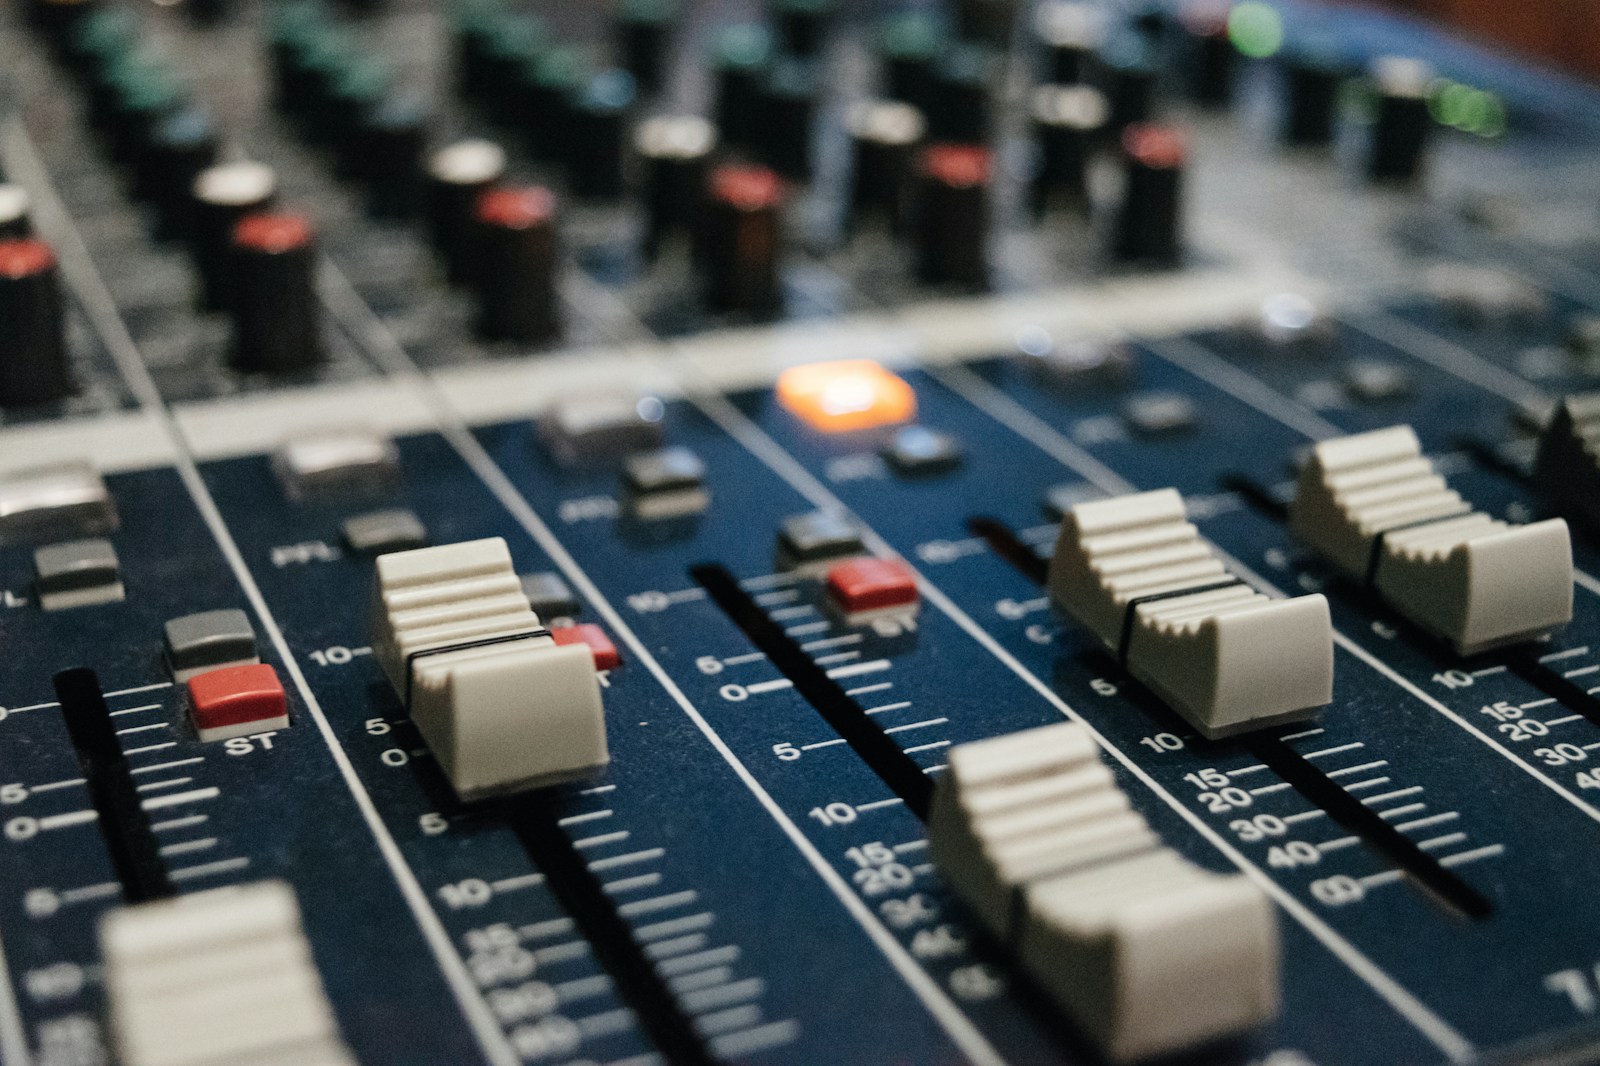
Monitor outputs deliver the main mix from your DAW to your studio monitors. These are typically balanced TRS or XLR connections, though smaller interfaces sometimes use RCA connectors.
Key considerations:
- Balanced connections are strongly preferred for monitor runs over 6 feet. They cancel hum and interference picked up along the cable. Unbalanced RCA connections work fine for very short runs (under 3 feet) but are more prone to noise in typical studio environments.
- Most interface monitor outputs are fixed at line level, with volume controlled by the monitor knob on the front panel. Some larger interfaces offer software-controlled routing, letting you send different mixes to multiple sets of monitors.
- Ground loops between monitors and interface are common. If you hear a hum, try plugging all gear into the same power strip, use balanced cables, or add an isolation transformer if the problem persists.
Headphone Outputs: Impedance and Power
Headphone outputs provide a dedicated amplified signal for monitoring. They’re usually TRS stereo jacks — sometimes dual jacks for separate headphone mixes on larger interfaces.
Three specs matter:
- Output impedance — ideally under 10 ohms for clean sound with most headphones. Higher output impedance interacts with headphone impedance and alters frequency response, typically boosting bass.
- Power output — measured in milliwatts. A basic interface headphone amp might output 30-50 mW into 32 ohms, sufficient for most consumer headphones. High-impedance headphones (250-600 ohms) need 100+ mW to reach adequate volume without distortion.
- Number of outputs — more outputs give you independent monitoring mixes for each performer during tracking.
If you can’t get enough clean volume from your interface headphone out, an external headphone amplifier is the solution. It takes one line output from your interface and splits it into multiple high-power headphone outs.
Advanced I/O: ADAT, S/PDIF, and Word Clock
Beyond analog inputs and outputs, many mid-range and high-end interfaces include digital connections that expand your channel count without adding more analog jacks.
- ADAT (Lightpipe) — carries up to 8 channels of digital audio at 44.1/48 kHz over a single TOSLINK optical cable. At 96 kHz, it carries 4 channels. ADAT lets you add an external 8-channel preamp (like the Focusrite OctoPre or Behringer ADA8200) for instant expansion. It’s the most affordable way to grow from 2-4 inputs to 10-12 or more.
- S/PDIF — carries 2 channels of digital audio via coaxial RCA or optical cable. Useful for connecting a reverb unit, external converter, or a secondary device without using analog inputs. S/PDIF is limited to 24-bit/96 kHz on most interfaces.
- Word Clock — a BNC connection that synchronizes sample rates between multiple digital devices. You only need this if you’re chaining multiple digital converters together. Most small studios can ignore it — standalone interfaces clock fine from the internal crystal.
These digital connections require clock synchronization. One device is the master, the rest are slaves. Mismatched clocks cause clicks, pops, or total silence. Set your interface as the master and external converters to external clock via ADAT or S/PDIF, and the sync usually works without additional word clock cabling.
How to Choose the Right I/O for Your Studio
Match your interface’s I/O to your recording workflow, not to some ideal spec. This checklist helps narrow it down:
- How many microphones will you record simultaneously? Count the maximum you’ll realistically need, not what you imagine someday. Track a drum kit? That’s 4-8 mics. Solo vocalist? One is fine.
- Do you record acoustic guitar or vocals with a condenser mic? That’s one XLR input with phantom power. Almost all interfaces have that.
- Do you record guitars or basses direct? Make sure your interface has at least one Hi-Z input.
- Do you use hardware synths, drum machines, or external preamps? You’ll need line inputs, either dedicated or switchable from Hi-Z.
- How many monitor outputs do you need? Two outputs (stereo) is standard. If you want to A/B between two sets of monitors, you need four outputs.
- How many separate headphone mixes? Two independent headphone outs allow a different mix for the performer and the engineer. Check dedicated vs. shared outputs before buying.
- Do you plan to expand later? If yes, get an interface with ADAT optical out. You can add 8 more inputs later without replacing the interface.
There’s no universal right answer. A solo singer-songwriter might be perfectly happy with 2 inputs and 2 outputs. A band recording live drums needs 8+. Buy for what you do now, and plan expansion with ADAT.
Common I/O Configuration Mistakes to Avoid
- Using TRS cables for TS-only connections — works fine for unbalanced signals, but a TRS plug in a TS jack leaves the ring unconnected, which can cause noise in some designs.
- Plugging a microphone into a TRS line input — You don’t get the correct impedance matching for microphones, and phantom power won’t reach the mic because line inputs omit the XLR pins that carry 48V.
- Sending line-level signals into instrument inputs — Distortion. Instrument inputs expect a much weaker signal. Always switch to line if available, or use a line input instead.
- Ignoring phantom power compatibility with ribbon mics — Already covered, but worth repeating. Passive ribbons and phantom power do not mix.
- Running unbalanced cables long distances — Unbalanced runs over 15 feet are prone to noise pickup. Use balanced cables for long runs between interface and monitors or patchbays.
Troubleshooting Input and Output Issues
- No signal from microphone — Check phantom power is on (for condenser mics). Check cable is fully seated. Check input gain is turned up. Check the correct input is selected in your DAW.
- Distorted or crackling signal — Gain staging is too hot. Lower input gain or pad the input. Digital clipping is irreversible — keep peak levels below 0 dBFS.
- Hum or buzz through monitors — Ground loop. Try all gear on the same power strip. Use balanced cables. Check for dimmer switches or large motors on the same electrical circuit.
- Headphones too quiet — Impedance mismatch. High-impedance headphones (250+ ohms) need more power. Use an external headphone amp, or switch to lower-impedance headphones.
- No sound from monitors — Confirm monitor knob is up. Check monitor outputs are selected in your interface control panel. Verify cables are connected to the correct outputs.
- Latency while recording — Direct monitoring on your interface bypasses the computer. Enable direct monitoring for latency-free headphone monitoring. Reduce buffer size in DAW settings for faster round-trip.
Final Thoughts: Getting the Most Out of Your Interface’s I/O
You don’t need to use every input and output from day one. Start simple — record with what you have. As your gear collection grows, revisit your routing. That unused ADAT input can become an eight-channel preamp. Those spare line outputs can feed an analog compressor for mix bus processing.
Understanding I/O isn’t abstract technical knowledge. It directly affects how clean your recordings sound, how flexible your monitoring is, and how easily you can integrate new gear into your system.
If you’re building a studio from scratch or upgrading your current setup, check out our studio setup guide for step-by-step wiring diagrams and signal flow examples. And if you’re comparing specific models, the gear database has spec breakdowns for hundreds of interfaces with real user feedback on I/O performance.