Introduction
When you’re getting started in a DAW, one of the first real decisions you’ll hit is whether to record MIDI or audio. Neither is betterâthey just serve different purposes. MIDI captures performance data: which notes you played, how hard you hit them, how long you held them. Audio captures the actual sound waveâthe vibration of strings, air moving through a mic, the analog circuitry in a preamp. The choice between MIDI vs audio recording DAW workflows affects everything from how you edit to how the final track sounds. Beginners often default to one method out of habit, but knowing when to use each saves time, CPU, and creative frustration.
What Is MIDI Recording?
MIDI stands for Musical Instrument Digital Interface. When you record MIDI, you’re not recording sound. You’re recording instructions: note numbers, velocity (how hard you press), duration, and controller data like pitch bend or modulation. Think of it as sheet music for your computer. The actual sound comes from a virtual instrument or hardware synth that interprets that data in real time.
The big advantage is editability. Say you record a piano part and hit a wrong note. With MIDI, you just drag that note to the right pitch in the piano roll. You can change timing on every single note, adjust velocity to make a part feel more human, or swap the instrument from piano to strings without rerecording. That flexibility is why MIDI is the backbone of electronic music, film scoring, and pop production. It’s also why many producers record everything into MIDI first, even if they plan to bounce it to audio later.
What Is Audio Recording?
Audio recording captures a continuous waveform. When you plug a mic into your interface and hit record, you’re freezing a moment in time. The result is a fixed recording of whatever sound passed through that mic or direct input. You can edit audioâcutting, looping, time-stretching, pitch-shiftingâbut you’re working with the actual recorded wave, not discrete note data.
Audio is what you use for anything that produces sound in the real world. Vocals, acoustic guitars, electric guitar amps, drum kits, field recordings, analog synthesizers, and live instruments all enter your DAW as audio. The strengths are character and authenticity. A vocal take through a nice mic and preamp has a texture that’s hard to fake with virtual instruments. Same goes for a distorted guitar amp or roomy drum overheads. On the flip side, if a singer is slightly flat, you can pitch-correct, but it’s never as clean as fixing a MIDI note. Audio is less flexible after the fact, which is why getting a good take at the source matters more.
MIDI vs Audio Recording DAW: The Key Differences
Here’s where these two recording methods diverge in practical terms:
- Editing Flexibility: MIDI wins hands down. You can change any note, fix timing, adjust velocity, and even change the instrument. Audio edits are destructive or require complex processing. If you record a sloppy guitar part, you’re comping takes or rerecording. With MIDI, you just quantize.
- Sound Quality: Audio captures the real thingâimperfections, analog warmth, room acoustics, performance nuances. MIDI sounds as good as the virtual instrument you’re using. Some virtual instruments are incredible, but there’s a reason you can still tell a real string quartet from a sample library.
- File Size: MIDI files are tiny because they’re just data. A 100MB MIDI file would be absurd. Audio files, especially at higher sample rates, fill up hard drives quickly. A three-minute song at 24-bit/48kHz can easily hit 30MB for a stereo file.
- CPU Usage: Audio is easier on your CPU. Once recorded, it’s just playing back a file. MIDI requires your computer to generate sound in real time through virtual instruments, which can max out your processor if you have many tracks running complex synths.
- Workflow: MIDI lets you compose and arrange without committing to a sound. You can sketch out an entire track with placeholder instruments and swap them later. Audio forces you to commit to a performance and a sound from the start. Both workflows are valid, but MIDI is more forgiving during the creative phase.
A simple way to think about it: MIDI is the blueprint. Audio is the finished building. You can change the blueprint without tearing anything down. Once the building is built, renovations are more involved.
When to Record MIDI (And Why It’s a Lifesaver)
MIDI shines in any situation where you need editability and flexibility. Here are the most common scenarios where you’d want to record MIDI rather than audio:
Programming drum patterns. Nobody records a full drum kit one note at a time through a MIDI keyboard. But if you’re building a beat from scratch, MIDI lets you place each kick, snare, and hi-hat exactly where you want them, adjust velocities for groove, and swap samples if a kick doesn’t hit hard enough. You’d be crazy to try that with audio.
Composing with virtual instruments. Pianos, strings, synthesizers, orchestral librariesâthese all run on MIDI. You record the part once and can tweak the performance endlessly. A slow ballad that needs the strings to swell more? Bump up the velocity on those sustained notes. Need the brass section to come in a hair earlier? Drag the notes left.
Complex arrangements. If you’re layering multiple synth parts or writing a chord progression you’re not sure about yet, MIDI is your best friend. You can experiment freely without worrying about committing to a sound. You might record a lead line as a piano, decide it works better as a pluck synth, then later swap it for a pad. That’s impossible with audio.
When you don’t know the final sound. This is the most practical use case. You have a melody in your head but no idea what instrument should play it. Record it as MIDI with a basic piano sound. Then start cycling through patchesâbass, lead, pad, organ, brassâuntil you find the right vibe. No rerecording necessary.
Real-world example: I once recorded a keyboard part in MIDI, spent an hour tweaking the timing and velocity, then decided the part would sound better on a warm analog synth. I swapped the virtual instrument, added some saturation, and it was done. The whole process took two minutes instead of hunting for a hardware synth and rerecording the part.
When to Record Audio (And Why It’s Worth the Work)
Audio is irreplaceable for capturing real-world sounds. Here’s when you want to reach for a microphone or a direct input instead of a MIDI controller.
Vocals. There’s no substitute for a real vocal performance. The subtle breathiness, the slight pitch waver, the emotional deliveryâthese are things no MIDI-generated vocal can reproduce. Even if you’re using vocal synthesis software, you’re still working with recorded audio samples underneath.
Acoustic instruments. Acoustic guitar, violin, cello, saxophone, fluteâthese instruments have complex harmonics and organic dynamics that rely on the air moving through the room. You can try to replicate them with sample libraries, but it will never sound as natural as a well-recorded take. Folk, bluegrass, jazz, and classical music are built on that authenticity.
Electric guitar and bass. Amp distortion, cabinet resonance, and the way a guitar reacts to your playing style are all lost in MIDI. You can use amp simulators with your direct input, but even that is audio. Recording the real thingâeven through a cheap interfaceâcaptures the performance in a way that MIDI can’t touch.
Drum kits (live). If you have access to a real drum kit and a few microphones, audio is the way to go. The stereo image, the bleed between mics, the room soundâthese are things that programmed drums try to emulate but never quite nail. Genres like rock, funk, and jazz benefit from the chaotic energy of a live kit.
Field recordings and foley. Want the sound of rain on a window or footsteps on gravel? You’re recording audio. No virtual instrument is going to give you that authenticity.
Genres that need a live feel. If you’re making folk, rock, classic soul, or anything that prizes human imperfection, audio is the better choice. The slight timing drift, the uneven dynamics, the little cracks and breathsâthose are features, not bugs. MIDI’s precision works against you here.
The Hybrid Approach: Combining MIDI and Audio in One Track
Most professional producers don’t choose one or the other. They use both in the same project, often on the same instrument. This is where the real power lies.
Here’s a common workflow I use constantly: record a synth part in MIDI. Spend time dialing in the perfect sound on a virtual instrumentâfilter cutoff, envelope, effects, everything. Once the sound is exactly right, bounce that MIDI track to audio. Now you have a fixed recording that sounds exactly how you want it. You can apply further audio processingâsaturation, compression, reverbâwithout taxing your CPU with the virtual instrument. You can also time-stretch or chop the audio in ways that MIDI can’t do.
Another hybrid technique: record a MIDI piano part, get the performance right, then render it to audio and run it through a hardware preamp or a tape saturation plugin for warmth. You get the editability of MIDI upfront and the analog character on the back end.
For drum programming, many producers lay down a MIDI pattern, then bounce individual hits to audio for processing. This gives you the control of MIDI for the arrangement and the punch of saturated, compressed audio for the mix.
This hybrid workflow is standard in professional studios. MIDI handles the creative and arrangement phases. Audio handles the mix and the final sound. Don’t think of them as separate camps. Think of them as two stages in a pipeline.
Common Mistakes When Choosing MIDI vs Audio
Recording everything as MIDI when audio would sound better. I see beginners do this constantly. They record their guitar through a MIDI pickup into a virtual amp sim, or they program a bass part instead of reaching for an actual bass guitar. The result is sterile and flat. If you have access to a real instrument, record it as audio. Virtual instruments are convenient, but they lack the soul of a live performance.
Over-quantizing MIDI parts. Quantization is useful, but too much of it kills the groove. I’ve pulled up projects where every single note is locked to the grid and it sounds like a robot playing. Human timing is what makes music feel alive. Use quantize sparinglyâmaybe only on the downbeats or on parts that are clearly offâand leave some natural drift in the rest.
Sticking with out-of-tune audio takes when MIDI could fix them. If you’re recording a vocal or a solo instrument that’s slightly flat but the performance is otherwise perfect, consider whether you can fix it with pitch correction. Some producers are snobby about tuning, but it’s a standard tool. If you’re working with MIDI instruments, you can also adjust pitch bends or transpose notes to correct intonation.
Ignoring CPU management. Running ten virtual instruments simultaneously will choke a modest computer. A common mistake is keeping everything as live MIDI tracks during mixing. At some point, you need to bounce those MIDI parts to audio to free up processing power. Plan for this in your workflow or you’ll hit performance walls.
Using MIDI for acoustic instruments that require nuance. Sample libraries can sound impressive, but they have limits. Legato transitions, bow changes, and dynamic expression are hard to program convincingly with MIDI. If you need a realistic string quartet, you’re better off hiring players or at least spending serious time on MIDI editing. Most beginners overestimate what a default Kontakt library can do.
How to Record MIDI in Your DAW: A Quick Workflow
If you’re new to MIDI recording, here’s the streamlined process:
- Create a new instrument track in your DAW.
- Load a virtual instrument on that trackâany stock synth or sampler will do for testing.
- Make sure your MIDI controller (usually a keyboard) is connected and recognized by your DAW.
- Arm the track for recording. You should see MIDI signal when you press keys.
- Choose a tempo and set a click track if you want to record in time.
- Press record and play your part. It doesn’t have to be perfectâMIDI is forgiving.
- Stop recording. You’ll see your performance as a MIDI clip on the track.
- Open the piano roll editor. Here you can drag notes, adjust velocity, and quantize timing.
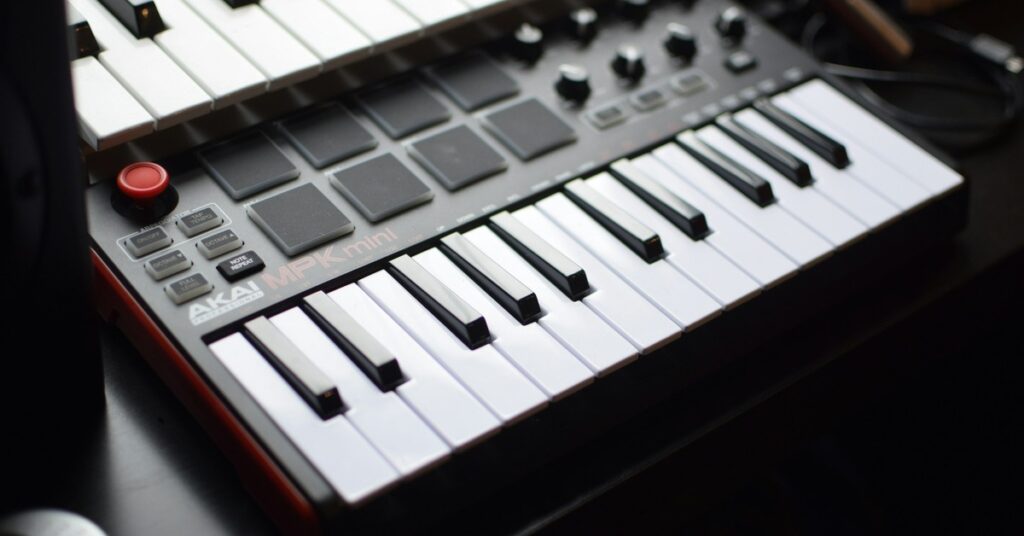
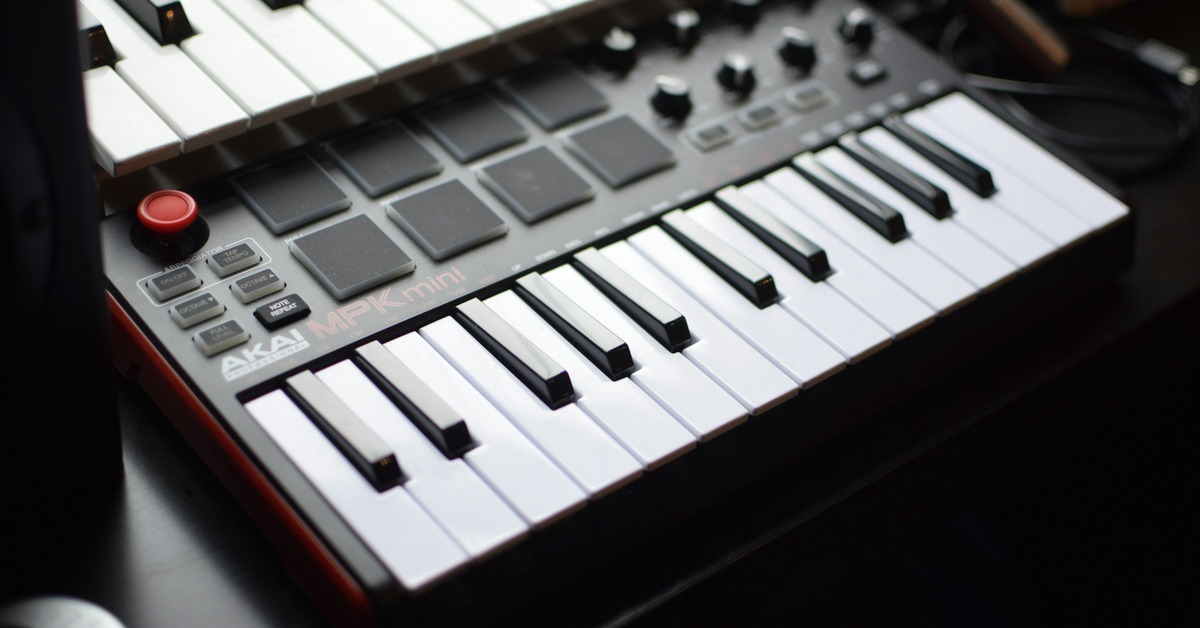
That’s it. The beauty of MIDI is that you can rehearse the part as many times as you want without burning takes. Just delete the old clip and try again. If you don’t have a keyboard, you can also draw notes directly in the piano roll with your mouse. It’s slower but entirely functional. For those who need a controller to make the process smoother, a compact keyboard like the Akai MPK Mini Mk3 is a practical choice.
How to Record Audio in Your DAW: A Quick Workflow
Recording audio is slightly more involved because you’re working with the real world:
- Connect your microphone or instrument to your audio interface via XLR or a quarter-inch cable.
- Make sure the interface is selected as your audio input device in your DAW’s settings.
- Create a new audio track.
- Set the track’s input to the correct channel on your interface (e.g., Input 1 for your mic).
- Arm the track for recording. You should see level meters moving when you play or speak.
- Set your recording level. Aim for peaks around -6dB to -3dB. Avoid clippingâthat’s the red zone on the meters.
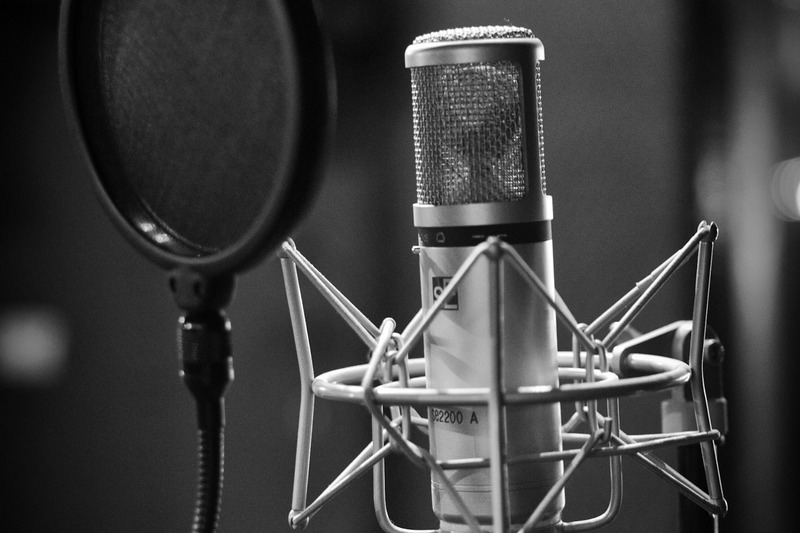
- If recording vocals, set up a pop filter and check for background noise.
- Press record and capture your performance.
- Stop recording. Your audio will appear as a waveform clip on the track.
- Play it back. If the take has issues, don’t stressâyou can comp takes or punch in to fix sections.
Key difference from MIDI: you can’t change the notes after recording. If your vocal is out of tune, you’re looking at pitch correction or a new take. That’s why getting a good performance at the source matters more with audio. A reliable interface like the Focusrite Scarlett 2i2 is worth considering for clean preamps and low latency.
Best Tools for MIDI and Audio Recording
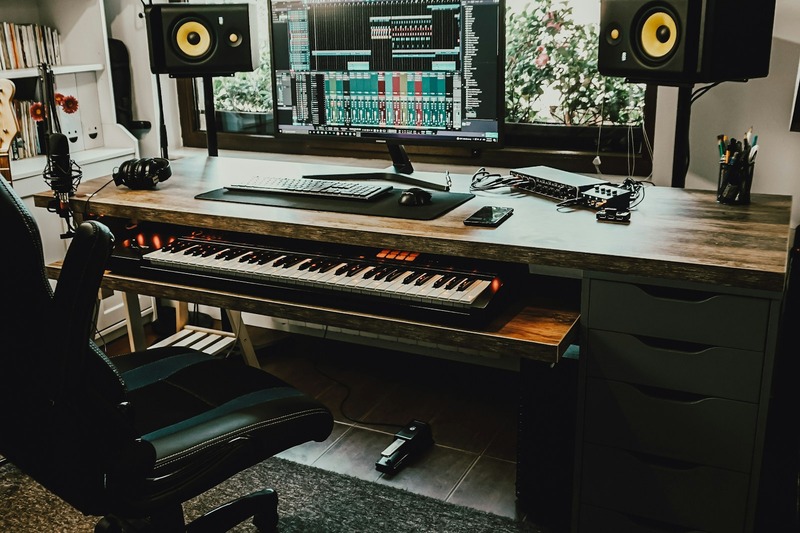
If you’re building a home studio and need gear that handles both MIDI and audio well, here are the pieces that make the most difference:
MIDI Controller: A keyboard with 49 keys is the sweet spot for most producers. The Arturia KeyLab Essential 49 gives you decent keys, built-in controls, and integration with major DAWs. If you want something cheaper, the Akai MPK Mini Mk3 is a solid compact option that fits on any desk. Both work fine for recording note data and controller information.
Audio Interface: This is non-negotiable for recording audio. You need clean preamps and low latency. The Focusrite Scarlett 2i2 is the industry standard for a reasonâit’s reliable, sounds good, and works with any DAW. If you need more inputs, the Behringer UMC404HD is a budget-friendly alternative with four inputs.
Microphone: If you’re recording vocals or acoustic instruments, start with a dynamic microphone that handles high sound pressure levels well. The Shure SM57 is legendaryâit’s used on guitar cabs, snare drums, and vocals. For a condenser mic that’s better for softer sources, look at the Audio-Technica AT2020. Both are affordable and proven.
Virtual Instrument: For MIDI work, you want something that sounds good and offers deep sound design options. Serum by Xfer Records is the go-to for wavetable synthesisâit’s used everywhere in electronic music. If you need realistic orchestral sounds, Kontakt by Native Instruments is the standard for sample libraries.
These aren’t flashy recommendations. They’re the tools that professionals actually use because they work every time and don’t get in the way of the creative process.
Which Should You Learn First? (Decision Guide for Beginners)
If your goal is to compose and edit music with maximum flexibility, learn MIDI first. Spend a week getting comfortable with your DAW’s piano roll, understanding velocity and quantization, and experimenting with virtual instruments. You’ll be able to create full arrangements quickly, even if you don’t own any real instruments.
If your goal is to capture real instruments and vocalsâmaybe you’re a guitarist, a singer, or a songwriterâthen learn audio recording first. Get comfortable with your interface, understand gain staging and levels, and practice getting clean takes. You can always add MIDI later for accompaniment tracks.
For most producers, the right answer is to learn both basics within your first month. You don’t need to master either. Just know how to set up a MIDI track, load a virtual instrument, and record a pattern. Then know how to plug in a mic, set levels, and capture audio. From there you’ll naturally gravitate toward the method that fits your workflow. The important thing is not to treat them as separate skills. They’re two parts of the same production toolkit.
Final Verdict: There’s No Wrong Choice, Only Wrong Context
I’ve seen producers argue online about whether MIDI or audio is better. It’s a waste of energy. The choice depends entirely on what you’re recording, what you’re trying to achieve, and what your project demands. There’s no moral high ground in using one over the other. Recording a drum machine pattern in MIDI is smart. Recording a live drum kit in MIDI is pointless. Recording a vocal through a microphone is obvious. Using a sampled choir instead of hiring twenty singers is practical.
The most capable producers are the ones who can switch between both methods without a second thought. They know when to reach for a MIDI keyboard and when to plug in a mic. They know that MIDI offers infinite editability but lacks soul, and that audio captures soul but requires commitment. Practice both. Use them together. Trust your ears, not the internet forums. And if you’re still unsure about gear, start with the recommendations listed hereâthey’ll serve you well no matter which path you choose.