
“`html
What Is a Custom Ableton Live Template and Who Needs One?
A custom Ableton Live template is basically a saved .als file with your pre-configured setup: tracks, routing, effects, instruments, and basic mixing choices. Instead of starting every session from zeroâor relying on the default templateâyou load a file that already has your kick drum on its own track, your go-to reverb on a return channel, and sidechain compression ready to roll.
This isn’t about being lazy. It’s about cutting out the friction that slows down the creative process. Every minute you spend routing audio, loading drum racks, and setting up groups is a minute you’re not writing music. The default template in Live is okafor Beginnersrs, but it’s generic. Designed to worfor Everyryone, which means it doesn’t really work for anyone in particular.
You need a custom template if you’ve ever opened Live, stared at a blank session for ten minutes, then closed it again. Or if the first 30 minutes of every session feel like the same setup routine over and over. This applies to beatmakers, electronic producers, and even podcast producers who need consistent track layouts. If you’re a sound designer who needs a different setup every time, a template might not be your thing. But most producers benefit from at least one solid starting point.
Why a Custom Template Actually Saves You Hours Each Week
Let’s get specific about time savings. A typical producer moving from scratch to a workable starting point usually takes 10 to 20 minutes. You’re loading a drum rack, adding a reverb send, setting up a delay return, creating group tracks for your busses, and maybe loading a synth or two. That doesn’t count the time it takes to remember what you used last time and liked.
With a custom template, you open Ableton and start making music. Your drum rack is loaded with your favorite kicks and snares. Your return tracks are already dialed in. Your bass track has that default Operator patch you always tweak. The sidechain compressor on your pad bus is already listening to the kick. You’re making music in under 30 seconds instead of 15 minutes.
If you produce three or four times a week, that’s roughly an hour saved each week. Over a month, that’s four hours. Over a year, that’s a full working week you didn’t waste on setup. And it’s not just about the clock. There’s a mental toll to repetitive setup work. It drains creative energy before you even hit record. A good template protects your momentum. You open Live, and your brain knows exactly where everything is. No second-guessing. Just workflow.
The Core Tracks You Should Always Include in Your Template
Your template doesn’t need 50 tracks. It needs the ones you use every single time. Here’s what I include and why.
Kick â The foundation of most modern production. Give it its own track with a utility plugin for gain staging and maybe a subtle saturator. Don’t EQ it in the template; you’ll want to carve that per track.
Snare/Clap â Right below the kick in priority. I keep a basic layered snare sound here and a filter I can automate later.
Hi-hats â A single track for closed hi-hats, with a simpler loaded and a small amount of reverb send. Keep it simple. You can always add more hat layers later.
Bass â This is where I load Operator with a basic sine wave or a simpler with a sub. Route this into a group track that has a compressor listening to the kick for sidechain.
Pads â A group track with a gentle compressor and a touch of reverb. This is your atmospheric layer. Load a default Wavetable or Analog patch here.
Leads/Synth â Another group track, but with a more aggressive EQ curve. I pre-load a Serum or Vital instance here, but only if my system can handle it. For lighter setups, stock devices are fine.
Return Tracks â At least two. One for reverb with a Hall or Plate preset at around 20-30% wet. One for delay with a dotted eighth note setting. Label them clearly. I use colors too: blue for reverb, green for delay, red for sidechain buss.
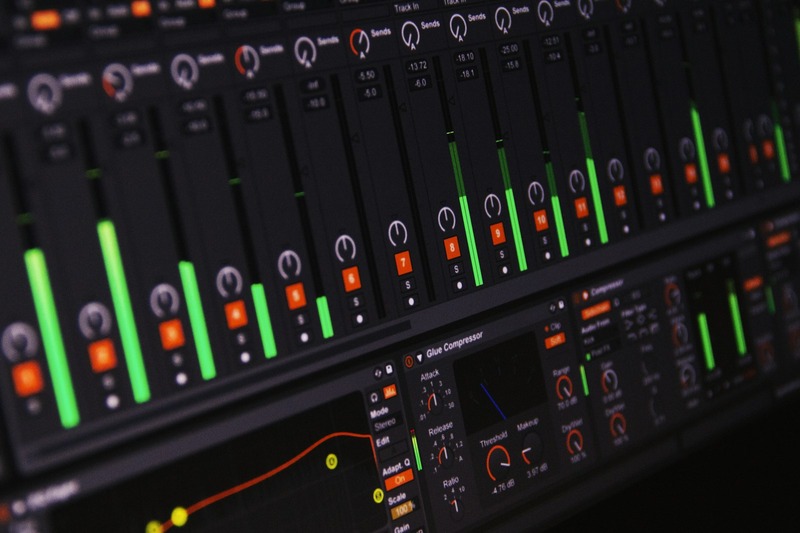
Master Buss â A light glue compressor and a limiter. Nothing too aggressive. Just enough to keep levels in check as you build.
Label everything. Name your tracks. Color-code them. It sounds trivial, but when you’re in a flow state, you don’t want to hunt for the hi-hat track. Your template should be a map of your production habits.
Choosing the Right Instruments and Effects to Pre-Load
This is where many producers mess up. They load every synth they own, every effect chain, and end up with a template that takes 30 seconds to load and eats half their CPU before they’ve written a single note.
Here’s the tradeoff: CPU-heavy plugins like Serum, Kontakt, or Omnisphere are powerful, but they demand resources. If you pre-load them on five tracks, your template will lag and stutter before you’ve started. If you’re on a powerful desktop, maybe that’s fine. If you’re on a laptop, it’s a disaster.
My advice is to start with stock Ableton devices. Operator is incredibly versatile for bass and leads. Simpler is perfect for drums and one-shot samples. Wavetable covers pads and atmospheric textures. These devices load instantly and use minimal CPU. They’re also well-integrated, so automation and routing work seamlessly.
Once you’ve established a session with stock devices, you can swap in your third-party tools as needed. But the template itself should stay lean. Consider creating two templates: one lightweight for quick ideas and sketching, and one loaded with your heavy synths for full production days.
For effects, keep it simple. A utility plugin on every track for gain staging. An EQ Eight on your master and key tracks. A glue compressor on your drum buss. A reverb and delay on returns. That’s it. You can add saturation, distortion, or modulation effects as your track demands. Don’t pre-load them just because you might use them. If sound design is your focus, a collection of essential sound design plugins can help shape a solid initial chain.
How to Set Up Your Template Step by Step
Here’s the exact process I use. It takes about 30 minutes the first time, but you’ll save that time in your first week.
Step 1: Create a new set. Open Ableton Live and select ‘New’ from the file menu. Start with the default template or a blank set. Either works.
Step 2: Add your core tracks. Use the shortcut Ctrl+Shift+T (or Cmd+Shift+T on Mac) to add tracks quickly. Add seven to ten tracks: kick, snare, hi-hat, bass, pads, leads, and at least two return tracks. Name each track immediately. Use the right-click menu or double-click the track name. Be specific. ‘Kick’ not ‘Track 1.’
Step 3: Set up groups and routing. Group your drum tracks (kick, snare, hi-hat) into a ‘Drums’ group. Group your melodic instruments (pads, leads, bass) into an ‘Instruments’ group or separate them by role. Right-click the group title and enable ‘Show Group Tracks’ so you can see the master fader for each group. Route your sidechain compressor on the pad group to listen to the kick track. In the compressor, set the sidechain input to ‘Kick’ and adjust the ratio and attack to taste.
Step 4: Load your instruments and effects. On your kick track, load Simpler with your favorite kick sample. On your bass track, load Operator and select a basic sine patch. On your pads track, load Wavetable and pick a mellow pad preset. On your lead track, load whichever synth you prefer. On each track, add a Utility plugin set to mono and -6dB. On your master buss, add a Glue Compressor with a 2:1 ratio and a Limiter set to -6dB ceiling.
Step 5: Set up return tracks. Add a return track and load Reverb (Hall or Plate preset). Set wet to 20-30%. Add another return track with Delay (dotted eighth note). Set feedback to 25%. Right-click each send knob on your audio tracks and enable ‘Sends Only’ if you want to use them as pure effect sends.
Step 6: Save as template. Go to File > Save as Template. Name it something like ‘My Production Template.’ Now, every time you create a New Live Set, this template will appear in your ‘New’ menu. If you want to keep the default template available too, save your custom template under a different name in the same folder.
Step 7: Test it. Close Live, reopen it, and create a new set. Your template should load within seconds. Play a few notes, test the routing, make sure the sidechain works. If something’s off, tweak it and save again.
Common Mistakes Producers Make When Building Templates
I’ve made all of these. Here’s what to avoid.
Overloading with presets. It’s tempting to load your favorite synth patches, drum kits, and effect chains into the template. But if you have 20 tracks with heavy plugins, your template becomes slow and impractical. You’ll spend more time waiting for it to load than you save. Solution: stick to the essentials. You can always add more later.
Ignoring CPU management. Even one or two CPU-heavy plugins can cause issues if your template loads them on every track. Check your CPU meter after saving. If it’s above 20% with no notes playing, trim it down. Freeze and flatten if needed, but better to avoid the problem.
Not updating the template. Your workflow changes. You stop using certain sounds. You discover better routing. If you never update your template, it becomes a stale relic of your past production habits. Set a reminder every two or three months to review it. Remove what you don’t use. Add new chains that have proven valuable.
Forgetting to save the template. This is the most frustrating one. You spend 20 minutes tweaking your setup, then close Live without saving as template. Next session, you’re back to square one. Get in the habit of saving as template immediately after making changes.
Should You Use a Template or Build from Scratch Each Time?
This depends on your creative goals. If you’re working on finishing tracks, especially in a genre with consistent instrumentation, a template is almost always better. You want to remove setup friction and stay in creative flow. Your template gives you a familiar starting point that lets you focus on arrangement and sound design.
If you’re experimenting or sound designing, building from scratch might be better. You don’t want pre-configured tracks influencing your choices. You want the freedom to route audio in weird ways or use unconventional effect chains. The blank slate encourages exploration.
A hybrid approach works well for many producers. Create a few templates for different scenarios: one for beatmaking, one for sound design, one for vocal mixing. That way you have structure when you need it and flexibility when you don’t.
Best Gear to Complement Your Custom Template Workflow
A custom template becomes even more powerful when paired with the right hardware. A MIDI controller that integrates with Ableton allows you to navigate your template tracks without touching your mouse. Those who want deep integration might consider a dedicated Ableton control surface that maps directly to your template tracks, letting you play instruments and control effects. It’s an investment, but for heavy users, it can speed up navigation significantly.
For a more budget-friendly option, a good MIDI keyboard with Ableton integration offers transport controls and track navigation. Pair it with a decent audio interface for low-latency monitoring and clean preamps.
Good studio monitors or headphones are also worth the investment. Neutral monitors give you a clear picture of your template so you can make better mix decisions from the start.
How to Evolve Your Template Over Time
Your template isn’t a one-time setup. It’s a living document that should grow with you. Every two or three months, spend 15 minutes reviewing it.
Look at what you actually use. If you notice you never touch the hi-hat track because you always layer hi-hats differently, remove it and replace it with an empty MIDI track. If you find yourself adding the same compressor to your drum buss every session, add it to the template. If a certain reverb preset is your go-to, make it the default on your reverb return.
I once had a pad chain that I thought was essential. After six months of never using it, I deleted it and replaced it with a simpler track that held a favorite Omnisphere pad. That small change saved me 30 seconds per session and felt more natural.
Your template should reflect your current production habits, not the ones you had a year ago. Be ruthless about removing what doesn’t serve you.
Final Thoughts
A custom Ableton Live template is one of those high-return investments you can make in your production workflow. It takes about 30 minutes to build. It saves you hours every week. It cuts down on decision fatigue and keeps your creative momentum intact.
Don’t overthink it. Start with the core tracks and effects I outlined above. Save it as a template. Test it. Then use it for a few weeks. You’ll notice the difference quickly.
If you refine your template over time, it becomes an extension of your creative voice. That’s the goal. Not just a faster setup, but a setup that feels like home every time you open Live.
“`