Introduction
You’ve invested in good studio monitors. You’ve placed them on sturdy stands. You’ve even treated your room with some panels. But if you haven’t taken the time to calibrate studio monitors flat response, you’re still guessing. Calibration measures and adjusts your monitoring system so the sound you hear is as close to neutral as possible. Without it, your mixes will translate poorly â they’ll sound great in your room and terrible everywhere else.
This article is for home studio owners, budding producers, and anyone who wants their mixes to translate consistently. We’ll cover why flat response matters, how to prepare your room, the tools you need, and a complete step-by-step calibration process. We’ll also look at common mistakes that trip up beginners and how to avoid them. By the end, you’ll have a monitoring environment you can trust.

Why Flat Response Matters for Accurate Mixing
Think of your monitors as tools. A flat frequency response means the monitor outputs sound at an equal level across the audible spectrum â no boosted bass, no hyped treble. When your system is flat, the audio you hear is an honest representation of your mix. If a track sounds boomy on your monitors, it’s because the mix is actually boomy, not because your speakers are coloring the sound.
Non-flat monitors can ruin your translation. If your monitors artificially boost the low end, you’ll mix with less bass than necessary, so your mix will sound thin on other systems. If they boost the highs, you’ll dial back the top end, making everything sound dull. A flat response ensures that the decisions you make in your studio are accurate â they carry over to cars, headphones, and club systems.
Many beginners assume expensive monitors automatically sound flat. They don’t. Room acoustics, placement, and even your listening position affect what you hear. Calibration accounts for all of it. The goal is neutrality, not a pleasant listening experience. You want to hear what’s actually in the mix, not what your room or your speakers are doing to it.
Preparing Your Room: The Foundation of Any Calibration
Before you even turn on your measurement microphone, you need to address your room’s acoustics. Calibration software can only do so much. If your room has severe modal issues, untreated reflections, or poor speaker placement, the results will be compromised. Get the room right first.
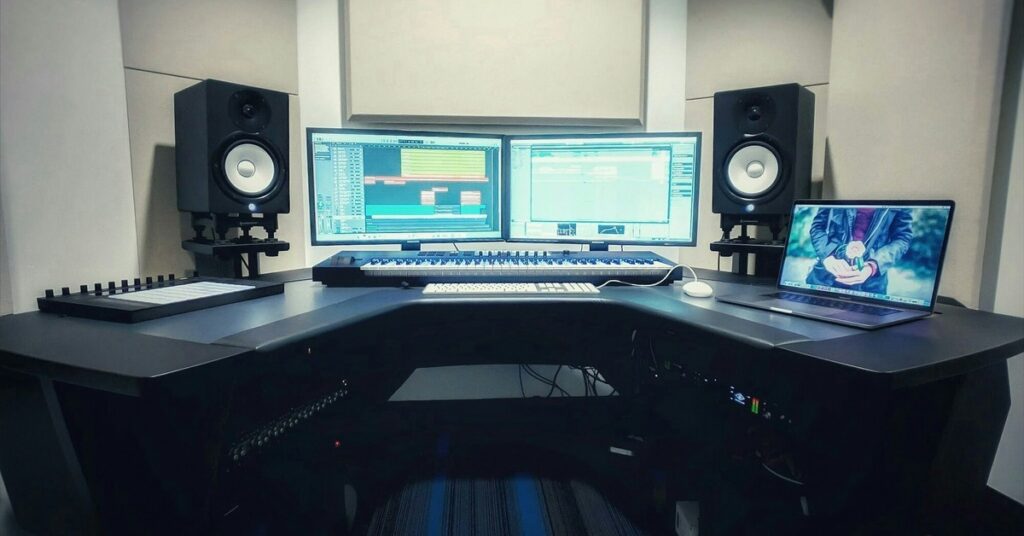
Speaker placement. The standard setup is an equilateral triangle between you and your two monitors. Your ears should be at tweeter height. Toe-in the monitors so they point just past your ears. This creates a focused sweet spot and reduces reflections from side walls. Your listening position should be about 38% of the room’s length from the front wall â this minimizes nulls caused by room modes.
Early reflections. The first reflections from your left, right, and ceiling can cause comb filtering. Place absorption panels at the reflection points. Foam panels work for mids and highs but not for low frequencies. For bass trapping, use thick panels (at least 4 inches) or purpose-built bass traps in corners. Corner traps are the most effective for low-end control because room modes peak there.
Room modes. These are resonant frequencies caused by parallel walls. They exaggerate or cancel certain bass notes. The best way to manage them is with bass traps. Some software can help identify problem frequencies, but treating the room physically is always better than relying solely on DSP correction. A calibrated room with minimal treatment will outperform an untreated room with expensive monitors.
You don’t need to turn your room into an anechoic chamber. You just need enough treatment to tame the worst reflections and bass buildup. Start with the corners, then move to first reflection points. A pair of acoustic bass traps and a few absorption panels will make a noticeable difference.
Essential Gear for DIY Calibration
You don’t need a pro studio budget to calibrate your monitors. A few affordable tools will get you most of the way there. Here’s what you need:
- SPL meter. An analog SPL meter with C-weighting and slow response is the simplest tool for level matching.
- Calibration microphone. A flat-response measurement mic is essential for frequency response analysis. The Behringer ECM8000 is a widely used calibration microphone â an affordable condenser mic with a flat response that works well with measurement software. The Dayton Audio iMM-6 is another good option if you want to connect directly to a laptop. Both are under $50 and work well with REW.
- Measurement software. Room EQ Wizard (REW) is free, powerful, and widely trusted. It does everything: generates pink noise, captures frequency response, helps identify room modes, and exports EQ curves. Sonarworks SoundID Reference is the more polished, automated solution â it comes with a calibrated mic profile and does the correction for you. REW gives you full control; Sonarworks is simpler. Choose based on your comfort level.
If you’re just starting, a measurement mic and REW will cover most of your needs. For the easiest workflow, Sonarworks is a good investment. Both options have free trials.
Step-by-Step: How to Calibrate Monitors for Flat Response (Using an SPL Meter)
This is the core process. We’ll walk through level matching using an SPL meter. It’s a practical method for beginners and works well as a first calibration step. You’ll need an SPL meter, pink noise, and your monitor’s volume controls.
Step 1: Set your SPL meter to C-weighting and slow response. C-weighting captures a wider frequency range than A-weighting, which is important for low-end accuracy. Slow response averages the reading over a few seconds, reducing fluctuations.
Step 2: Position the SPL meter at your listening position, pointing upward at ear height. This is where your head will be when you mix. The microphone must be exactly at the sweet spot.
Step 3: Load a pink noise file into your DAW. Pink noise sounds like a static hiss but contains equal energy per octave, making it ideal for level matching. Set the pink noise loop to play at a moderate level. The standard is 85dB SPL per speaker. This matches the SMPTE reference level and gives you enough headroom for mixing. If your room is small or you monitor nearfield (under 3 feet), use 79dB instead â it’s less fatiguing and reduces room mode interference.
Step 4: Mute one speaker. Play pink noise through the left monitor only. Adjust the monitor’s volume or your interface’s output until the SPL meter reads 85dB. Write down the setting. Repeat for the right speaker. Adjust independently until both read exactly 85dB. This ensures your stereo field is balanced â your center image won’t pull to one side.
Step 5: Unmute both speakers. The combined level should read approximately 88dB (because two uncorrelated noise sources add 3dB). If it’s significantly off, recheck individual levels.
Step 6: If you have a subwoofer, repeat this process. Play pink noise through the sub alone and set it to 85dB. Then check the combined sub and mains level. You may need to adjust the sub’s crossover or gain to get a seamless blend. More on that in the subwoofer section.
Tip: If your monitor’s volume knobs are stepped, match the levels as closely as possible. Tiny differences (0.5dB) are acceptable. Trust the measurement, not your ears â your ears will adapt to volume differences.
Using Room Correction Software: Sonarworks vs. REW + EQ
Level matching with an SPL meter is a great start, but it doesn’t correct frequency response issues. For that, you need room correction software. Here’s a comparison of the two main approaches.
Sonarworks SoundID Reference is the easiest route. It includes a calibrated measurement mic, generates a custom correction curve for your room, and applies it as a system-wide plugin. It handles time alignment and phase correction. Pros: it’s automated, works with any DAW, and the results are consistently good. Cons: it costs around $300 and requires a yearly subscription for updates. Best for: beginners, producers who want a one-click solution, people who don’t want to learn REW’s complexities.
REW + a parametric EQ (FabFilter Pro-Q 3, Waves Q10, or the free ReaEQ) is the manual, full-control approach. You measure your room, identify problem frequencies, and create EQ correction filters. REW shows you a waterfall plot and frequency response graph. You can target specific modes or dips. Pros: it’s free (REW), gives you complete control, and you can learn exactly what your room is doing. Cons: it’s hands-on, takes time to learn, and you need to trust your ears for final adjustments. Best for: advanced users, engineers who want to understand their room, budget-conscious producers.
Tradeoff: Sonarworks is faster and more forgiving. REW gives you deeper insight and more customization. Most home studio owners do fine with Sonarworks. If you’re serious about mixing, learning REW is worth the time. You can also use both â measure with REW, apply a few gentle EQ cuts manually, then finalize with Sonarworks.
Common Calibration Mistakes and How to Avoid Them
Even with the right tools, calibration can go wrong. Here are the mistakes I see most often, and how to fix them.
Mistake #1: Calibrating before treating the room. If your room has severe reflections or bass problems, calibration software will over-correct, creating unnatural filters. Treat the room first, then measure. This gives the software a clean starting point.
Mistake #2: Using A-weighting on your SPL meter. A-weighting rolls off low frequencies to mimic human hearing. That’s useless for calibration because you need to measure the room’s actual response, especially the low end. Always use C-weighting, which is nearly flat.
Mistake #3: Measuring at the wrong position. Your SPL meter or measurement mic must be exactly where your head sits. Even a few inches off can change the reading, especially at high frequencies. Use a mic stand and mark the spot on the floor.
Mistake #4: Using the wrong pink noise level. Some producers use a very low level to avoid disturbing neighbors. But at low volumes, room modes and background noise can skew the measurement. Stick to 85dB or 79dB â these levels are high enough to mask interference but not painful.
Mistake #5: Ignoring subwoofer integration. If you leave the sub uncorrected, it will mess up your low end. Crossover, phase, and level must all be aligned with the mains. We’ll cover that next, but the mistake is treating the sub as separate. It’s part of your monitoring system â calibrate it too.
Subwoofer Integration: Setting Levels and Crossover
Adding a subwoofer extends your low-end response, but it’s easy to get wrong. The goal is seamless integration â the sub should disappear, not call attention to itself.
Crossover. The standard is 80Hz. This matches the THX reference and works well for most systems. After calibration, set the sub’s crossover to 80Hz. Then measure the combined response. If there’s a peak or dip at the crossover point, adjust the sub’s phase or level. Some subs have a variable crossover knob â set it to its highest point and let your interface handle the crossover if possible.
Level matching. Calibrate the sub the same way you calibrated the mains. Play pink noise through the sub alone and set it to 85dB SPL. Then play noise through both the sub and the mains. The combined level should be smooth â no hump or hole at the crossover point. If you hear a bump, turn the sub down a bit. If there’s a dip, increase the sub level or adjust its phase.
The “sub crawl” technique. If you can’t find a good placement by ear, use the sub crawl. Place the sub at your listening position, play a constant low-frequency tone (like 50Hz), and crawl around the room. Where the tone sounds loudest and most even, that’s where the sub should go. This works because the room’s standing waves affect the sub’s response at different spots.
Fine-Tuning After Calibration: The Listening Test
Calibration gives you data. The listening test tells you if it works. After running your system through calibration, sit at your listening position and play some reference tracks â songs you know intimately. Listen for overall balance. The goal is for the mix to sound neutral, not exciting. If a track sounds boomy, it should sound boomy. If it has harsh sibilance, it should stand out.
Here are a few recommended tracks for testing different frequency areas:
- Low end: “Unfinished Sympathy” by Massive Attack â the bass line should feel round and full, not muddy or one-note.
- Midrange clarity: “Fast Car” by Tracy Chapman â her voice should sit clearly without being boxy. The acoustic guitar should have presence without harshness.
- High-frequency harshness: “Hallelujah” by Jeff Buckley â the cymbals and vocal sibilants should be present but not piercing. If the track sounds harsh, you might have over-corrected the top end.
Trust your ears after the measurements. If something feels off, check the measurement again. Maybe your listening position shifted. Maybe a reflection point isn’t properly treated. The measurements are objective, but your ears are the final judge. Adjust gently if needed, but don’t chase your ears â it’s easy to over-correct by ear.
When to Recalibrate Your Monitors
Calibration isn’t a one-time event. Over time, your room changes. You might add furniture, replace gear, or move your desk. Even seasonal humidity shifts can affect bass absorption. Recalibrate whenever you make a significant change to your studio setup. That includes:
- Adding or moving acoustic treatment
- Changing monitor placement
- Adding a subwoofer or replacing monitors
- Moving your listening position
- Significant furniture changes (couch, bookshelf, heavy curtains)
As a rule, check your calibration twice a year â once in winter and once in summer. High humidity can reduce the effectiveness of porous absorbers, changing the room’s frequency response slightly. If you notice a mix translation issue that wasn’t there before, re-measure. A quick pink noise check takes ten minutes and can save you hours of frustrating mix revisions.
Final Thoughts: Building a Reliable Monitoring Environment
Calibrating your studio monitors for flat response is one of the highest-ROI things you can do for your mixes. It turns your monitoring system from an unknown variable into a reliable tool. You stop guessing whether your room is telling you the truth. You can make mix decisions with confidence, knowing they’ll translate.
But calibration is just one part of the monitoring chain. Good room treatment, proper speaker placement, and high-quality monitors all contribute. Start with the basics: treat the worst room problems, place your monitors correctly, level match with an SPL meter, and then use software correction to fine-tune. Don’t skip steps. Every layer builds reliability.
If you’re just getting started, invest in a measurement mic and REW. It’s the cheapest, most educational path. For a cleaner workflow, Sonarworks is worth the money. But the real key is consistency â calibrate once, listen, adjust, and recalibrate when needed. Build that habit, and your mixes will thank you. To further refine your monitoring setup, explore gear like room correction software and measurement tools. Your room is your partner in mixing â treat it right.