Why Your Studio Monitors Matter More Than Any Other Gear
The signal chain in your studio — from the microphone preamp to the DAW, through plugins and out to your ears — is only as honest as the weakest link. And for most home and project studios, that weakest link is the monitoring chain. No amount of high-end converters or boutique compressors will help you mix if your speakers are lying to you.
Consumer speakers and headphones are designed to flatter. They boost the bass. They smooth out the highs. They make everything sound more exciting than it actually is. That’s great for enjoying music. It’s disastrous for making it. A mix that sounds punchy and balanced on a pair of hyped consumer speakers will often fall apart when played back on a neutral system.
Studio monitors, by contrast, are designed to reveal the truth. Their job is to expose the flaws in your mix, not to hide them. A good monitor lets you hear phase cancellation, harsh resonances, inconsistent low-end, and balance problems across the frequency spectrum. The result? You make better decisions during the mix, and your music translates reliably to headphones, car stereos, Bluetooth speakers, and club systems.
This guide is not about hype or marketing. It’s about understanding what studio monitors actually do, how the engineering choices behind different models affect your work, and how to build a monitoring system that gives you confidence in every mix decision you make. Whether you’re outfitting a first studio in a bedroom or upgrading a treated control room, the principles are the same.
Understanding the Anatomy of a Studio Monitor
Before you can compare specifications and read reviews intelligently, you need to understand what’s inside the box — both literally and figuratively. Every studio monitor is a system of components that work together to convert an electrical audio signal into accurate acoustic energy. Here’s what matters.
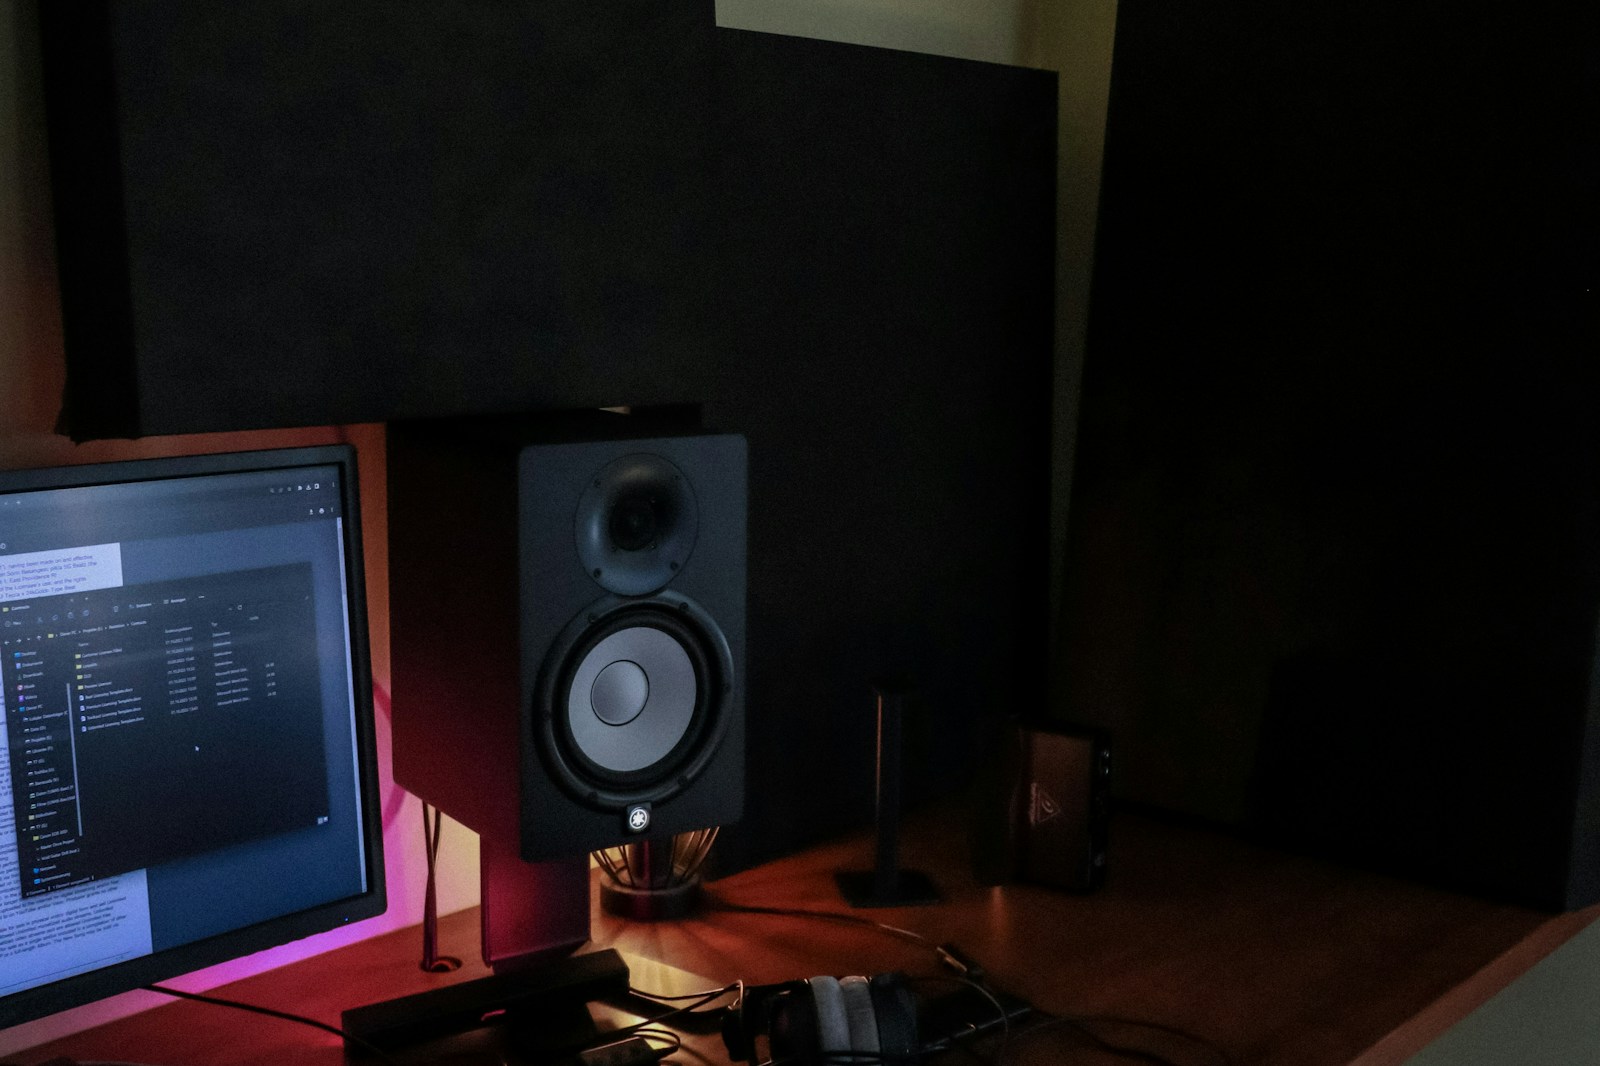
Drivers (Woofer and Tweeter)
The woofer handles the low and mid frequencies. The tweeter handles the high frequencies. The crossover point — typically between 1.5 kHz and 3.5 kHz in two-way monitors — splits the signal between them. Driver quality determines how accurately each frequency band is reproduced. Cheaper monitors use lightweight paper or polypropylene cones that can introduce distortion and breakup at higher volumes. Better monitors use composite materials or coated fabrics that maintain rigidity without adding mass.
The tweeter is equally important. Most professional monitors use a soft dome tweeter (silk or textile) for smooth high-frequency response. Metal dome tweeters can be more detailed but risk sounding harsh or sibilant when pushed. The waveguide surrounding the tweeter also matters — a well-designed waveguide controls dispersion and improves stereo imaging.
Active vs. Passive Monitors
Active monitors have built-in amplifiers, each driver powered by its own dedicated amp channel (bi-amping or tri-amping). Passive monitors require an external amplifier, and the crossover splits the signal before it reaches the drivers. For modern home and project studios, active monitors are almost always the better choice. The amplifier is matched to the drivers at the factory, and the design eliminates the guesswork of pairing speakers with an external amp.
Passive monitors still exist in high-end mastering rooms where engineers prefer specific amplification chains, but that’s a niche use case. For the vast majority of producers, active monitors deliver better consistency and lower total cost of ownership.
Cabinet Design: Sealed vs. Ported
Sealed (closed) cabinets enclose the woofer in an airtight chamber. This design gives tighter, more controlled bass response with better transient behaviour. The tradeoff is lower extension — a sealed monitor typically rolls off earlier in the low end compared to a ported monitor of the same size. Sealed designs are also more forgiving in rooms with problematic low-frequency modes because they generate less output in the lowest octave.
Ported (bass reflex) cabinets use a vent or port to reinforce low-frequency output. This allows a smaller woofer to produce more apparent bass extension. The downside is a risk of port chuffing (air noise at high output levels), phase anomalies around the port tuning frequency, and looser transient response. Ported monitors are common in budget and mid-range models because they offer more perceived bass per dollar, but the tradeoff in accuracy is real.
Some high-end monitors use passive radiators, which function similarly to ports but without the chuffing issue. In practice, sealed designs are preferred for critical mixing and mastering, while ported designs are more common in tracking rooms and smaller studios where low-end extension is a priority.
Frequency Response: What the Numbers Actually Tell You
Every monitor spec sheet lists a frequency response range, usually something like “45 Hz – 22 kHz ±3 dB.” Those numbers look simple, but they’re often misleading if you don’t know how to read them.
The ±3 dB figure is a tolerance window. A monitor rated at 45 Hz – 22 kHz ±3 dB means the speaker’s output stays within 3 decibels of the target response across that range. That sounds good on paper, but a ±3 dB deviation is actually quite large — it’s enough to make a snare sound harsh or a bass guitar sound muddy. High-end monitors aim for ±1.5 dB or even ±1 dB within their usable range.
The -3 dB and -6 dB points matter even more. A monitor that claims to reach 40 Hz but is -6 dB at that frequency is producing significantly less output down there. The -10 dB point is where the speaker has essentially stopped producing usable output. Always look at the full tolerance specification, not just the frequency extremes.
Manufacturer frequency response graphs are useful, but take them with a grain of salt. They are often measured in anechoic chambers at very specific test conditions that don’t reflect real-world performance. The response curve might look flat on paper, but in your room it will be completely different due to boundary effects, reflections, and room modes.
The most important frequency range to evaluate is the midrange, roughly 200 Hz to 4 kHz. This is where the vast majority of musical content lives. A monitor that sounds neutral and clear in the mids will help you make better mix decisions than one with impressive bass extension but a lumpy midrange response. Do not buy a monitor based on how good it makes kick drums sound. Buy it based on how accurately it reproduces vocals, guitars, and snare drums.
Monitor Size, Room Size, and SPL: Matching Power to Space
There is a widespread misconception that bigger monitors are always better. In reality, a larger woofer in a small, untreated room often makes mixing more difficult. Here’s why.
Low-frequency wavelengths are long. A 40 Hz wave is about 28 feet long. In a small room (say 10 x 12 feet), that wave will reflect off walls and create standing waves — room modes — that cause certain bass frequencies to be boosted while others are cancelled. A monitor with a larger woofer and deeper bass extension will excite more of these room modes, making the low end inconsistent and unreliable. You’ll hear a bass note that sounds loud at your listening position, but it won’t translate to other systems.
Here are practical guidelines based on common room sizes:
- Bedroom or small home office (under 150 sq ft): 5-inch woofers. Monitors like the Yamaha HS5, KRK Rokit 5, or Adam T5V are appropriate. You get enough bass to judge balance, without overwhelming the room.
- Dedicated project studio (150–250 sq ft): 6.5-inch woofers offer a good compromise between extension and room compatibility. Genelec 8040, Neumann KH 120, and Focal Alpha 65 fit here.
- Treated control room (250+ sq ft): 8-inch woofers become viable because you have enough space for the waves to develop, and you’ve likely treated your first reflection points and bass traps. Yamaha HS8, Adam A7X, and Genelec 8050 are common choices.
SPL (sound pressure level) capability also matters. If you mix at moderate levels — around 80–85 dB SPL — almost any powered monitor can handle that. But if you need to monitor at high levels for tracking drums or electronic production, look at the maximum peak SPL spec. A monitor rated at 105 dB SPL peak is fine for most mixing. 115 dB and above is overkill unless you have a treated space and a specific need for loud monitoring.
The real danger is mixing too loud. At high SPL, your ears’ natural compression and distortion kick in, and you make poor decisions about EQ and balance. This is a well-documented phenomenon. If you find yourself turning up the volume to “hear the low end better,” the problem is your room acoustics, not your monitor’s power rating.
Amplifier Classes and Why They Affect Monitor Performance
The amplifier built into an active monitor directly shapes the sound — not just in terms of power, but in terms of noise, distortion, and transient response. The two amplifier classes you’ll encounter most often are Class A/B and Class D.
Class A/B amplifiers are traditional analogue designs. They run in Class A at low power (pure, low-distortion operation) and switch to Class B as output increases. The result is very transparent sound with low harmonic distortion. The downside is efficiency — Class A/B amps generate significant heat and require larger heatsinks, which increases weight and cost. Many classic studio monitors from Genelec, Dynaudio, and Neumann use Class A/B amplification for the midrange and tweeter, even when using Class D for the woofer.
Class D amplifiers use pulse-width modulation to achieve much higher efficiency (85–90% vs. 50–60% for Class A/B). They run cool and can deliver serious power from a compact chassis. Early Class D amps had audible switching noise and poor transient response, but modern implementations — particularly those using high-quality feedback designs — have largely closed the gap. Today, many excellent monitors use Class D exclusively, including the Adam A-Series and Genelec The Ones series.
What does this mean for you? If you’re working in a treated room at moderate levels, the amplifier class is unlikely to be the bottleneck in your signal chain. Both designs can sound excellent. However, if you push monitors to high levels, Class A/B designs tend to distort more gracefully (with odd-order harmonics that are less offensive), while Class D can introduce harsher distortion as it approaches its limits. For most project studio work, either is fine. Prioritise the monitors that sound best to your ears in your room, not the amplifier topology on the spec sheet.
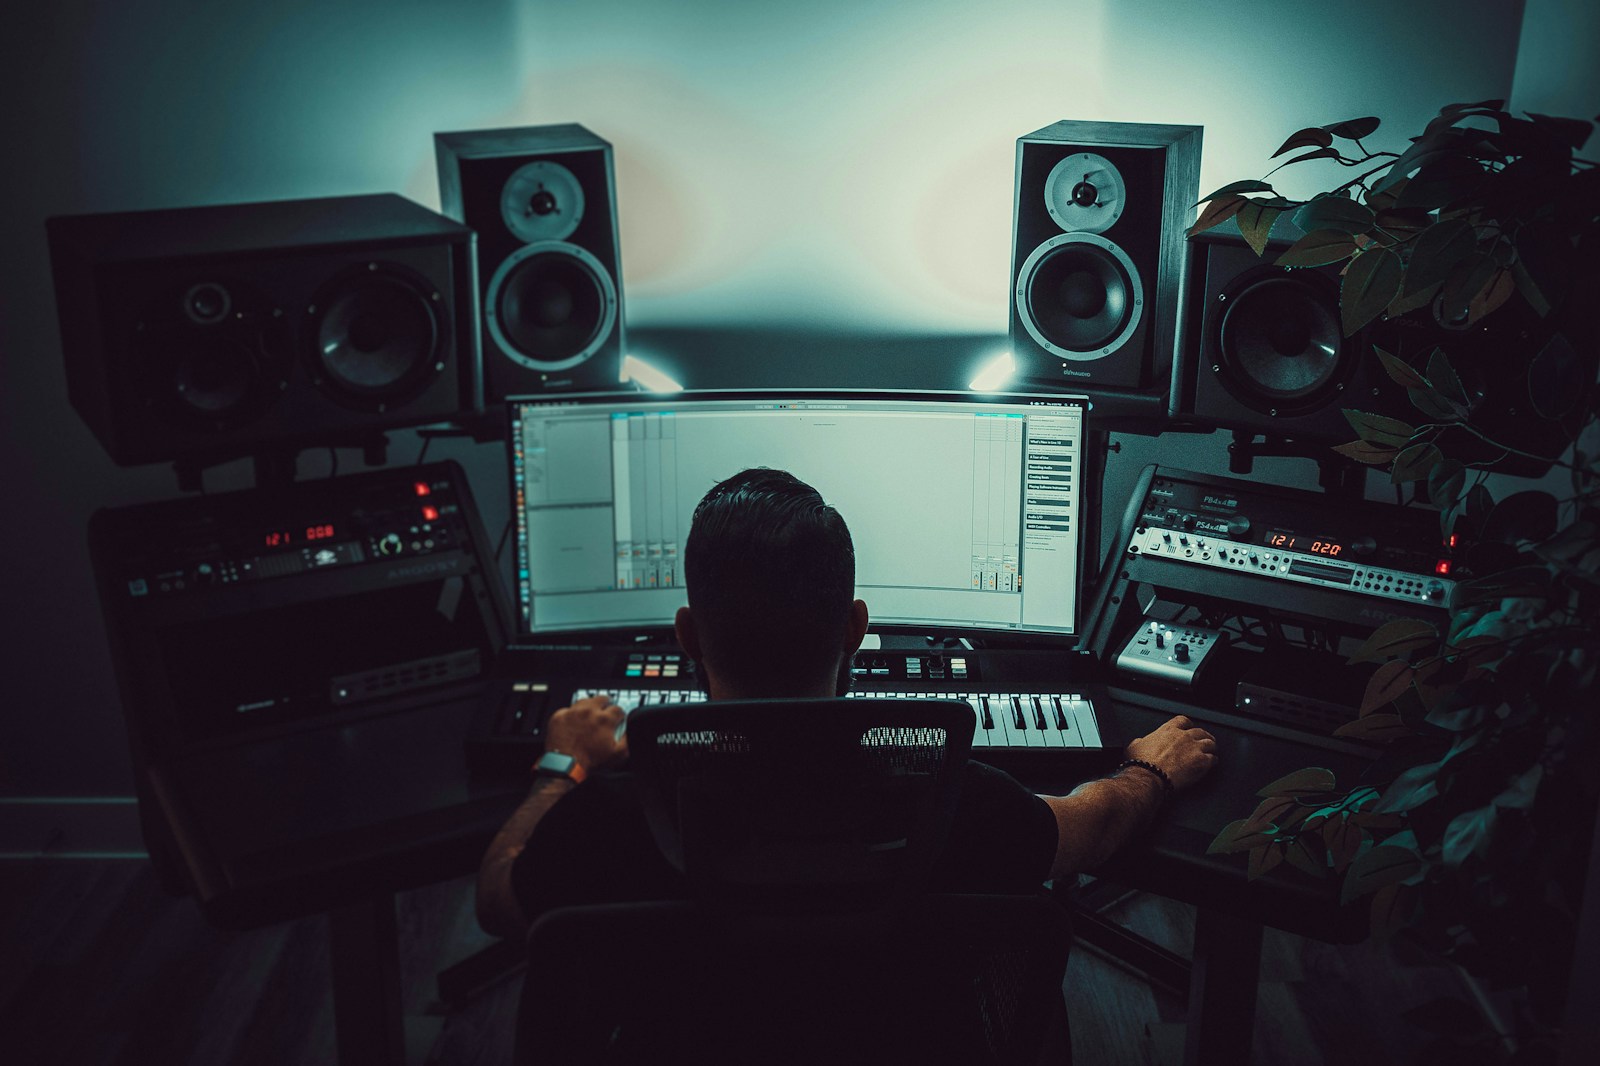
Room Acoustics and Monitor Placement: The Invisible Equaliser
No monitor — no matter how expensive or well-reviewed — sounds accurate in a bad room. Your room’s acoustics are the single most important factor in what you hear, and they can easily alter the frequency response by 10–15 dB or more at certain frequencies. This is not an exaggeration.
The Listening Position and Equilateral Triangle
Your head and the two monitors should form an equilateral triangle. The distance from your left ear to the left monitor, from your right ear to the right monitor, and between the two monitors should be equal. For most rooms, this works out to a distance of 3–5 feet between monitors, with your head positioned at the third point of the triangle.
The tweeters should be at ear height when you’re seated in your normal listening position. If your chair is too low, angle the monitors downward — but never tilt them so far that the tweeters are aimed at your chest. The high frequencies are directional, and you need them aimed directly at your ears for accurate stereo imaging.
Distance From Walls
This is the most common placement mistake. Monitors placed close to a wall — especially a rear wall — will suffer from boundary effect cancellation. When sound waves bounce off the wall behind the monitor and reach your ears slightly delayed, they interfere with the direct sound, creating deep notches in the frequency response. The classic symptom is a “hole” in the low-mid range around 150–300 Hz.
The rule of thumb: position your monitors at least 1–2 feet from the rear wall, and further if possible. Ported monitors on the rear wall are even more problematic because the port output reflects off the wall and causes cancellation. If you must place monitors near a wall, consider a sealed design or plug the ports with the included foam bungs.
Symmetry and First Reflections
The left and right sides of your listening position should be as acoustically similar as possible. That means identical distance to side walls, and similar reflective surfaces on both sides. If your left ear is next to a window while your right ear faces a bookshelf, your stereo image will be shifted and inaccurate.
First reflection points — the positions on the side walls, ceiling, and floor where sound from the monitors bounces toward your ears — should be treated with absorption panels or diffusers. The simplest method is the mirror test: have someone slide a mirror along the wall while you sit at the listening position. When you see the monitor reflected in the mirror, that’s a first reflection point.
Room Measurement Software
Inexpensive measurement tools like Room EQ Wizard (REW) combined with a measurement microphone (such as the UMIK-1 or the MiniDSP EARS) let you see exactly what your room is doing to your monitors’ output. You can measure frequency response at the listening position, identify problematic room modes, and verify that your monitor placement is working. This is not optional if you want to make reliable mix decisions. A $100 measurement microphone and a few hours of learning REW will improve your mixes more than spending $1,000 on better monitors.
Room Correction Systems (DSP, Sonarworks, GLM): Help or Hype?
Room correction software and hardware promise to fix the problems caused by bad room acoustics by applying EQ corrections in the digital domain. Sonarworks SoundID Reference, Genelec GLM, Neumann MA 1, and IK Multimedia ARC are the most common systems.
They work by measuring the frequency response at the listening position with a calibration microphone, then applying a corrective filter curve to flatten the response. On a purely technical level, they can reduce the deviation caused by room modes and reflections by several decibels. In practice, they are useful tools — but they have significant limitations.
Room correction cannot fix time-domain problems. A reflection that arrives 10 milliseconds after the direct sound is still a reflection, and EQ cannot make it disappear. The correction filter will boost or cut frequencies to compensate, but it can also introduce phase shifts and pre-ringing artifacts. For narrow, deep nulls caused by cancellation, correction is mostly ineffective because boosting a frequency that is 20 dB down due to cancellation will also boost the noise floor and strain the amplifier.
Room correction is best used as a finishing tool after you’ve already addressed the basics: good monitor placement, symmetrical listening position, and absorption at first reflection points. It is not a substitute for acoustic treatment. If you’re working in a completely reflective room with bare walls and a concrete floor, correction software will only take you so far.
That said, for small or imperfect rooms, a well-implemented room correction system can bring noticeable improvements. Sonarworks SoundID Reference has become the de facto standard for home studios, and Genelec’s GLM is exceptional when used with their DSP-enabled monitors. If you use room correction, set the target curve to a gentle slope (not completely flat) and always bypass it periodically to check your mix against the uncorrected sound.
Budget vs. Premium Monitors: Where Your Money Actually Goes
It’s worth understanding what separates a $300 pair of monitors from a $3,000 pair. The differences are real, but they aren’t always about “better sound” in a simple sense. Here’s where the money goes.
Under $500 (per pair): Entry-level monitors use basic drivers, simple crossovers, and often Class D amplifiers with minimal filtering. The cabinets are usually ported MDF with thin walls. The frequency response will have noticeable ripple — several decibels of deviation in the midrange and upper frequencies. Low-end extension is limited, and the bass tends to be boomy rather than tight. These monitors are adequate for learning the craft and for sketching ideas, but they will not give you reliable translation without extensive cross-referencing on headphones and consumer speakers. Examples include the KRK Rokit 5, Mackie CR Series, and PreSonus Eris.
$500–$1,500 (per pair): This is the sweet spot for most project studios. Drivers improve to composite or coated materials, cabinets are braced and better damped, and amplifiers are cleaner (often hybrid Class A/B for the tweeter, Class D for the woofer). The frequency response tightens to ±2 dB or better. You get usable low-end extension and much better transient detail. The stereo imaging becomes noticeably sharper. This tier includes the Yamaha HS Series, Adam T and A Series, Focal Alpha, and Neumann KH 80/120.
$2,000+ (per pair): Premium monitors use advanced waveguides, proprietary driver materials (like Beryllium tweeters or sandwich cones), and precision crossovers with very tight tolerances. The cabinets are heavily braced and often have complex internal geometries to eliminate resonances. Amplifier designs are often fully analogue Class A/B. The frequency response can be ±1 dB or better within the passband. Transient response is exceptional, and the monitors reveal details that are simply inaudible on budget monitors. These are tools for professionals who need absolute confidence in their mixes. Examples include Genelec 8040/8050, Dynaudio BM Series, Neumann KH 310, and Focal Solo6. The Ones series from Genelec and three-way monitors from Neumann go even further.
The most important thing to understand: spending more money does not automatically make your mixes better. A set of Yamaha HS8s in a well-treated room with proper placement will outperform a pair of Genelec 8050s in an untreated bedroom. Always prioritise room treatment and placement before upgrading monitors.
How to Audition and Compare Monitors (Without Getting Fooled)
Going to a studio or dealer to audition monitors is a good idea, but only if you have a systematic process. Your brain’s auditory memory is unreliable, and a monitor that sounds impressive in a showroom may not work for you in your room.
Bring a set of reference tracks that you know intimately. Ideally, use tracks that you have mixed yourself, as well as professionally mixed material in the same genre. The tracks should cover a range of dynamics, frequency content, and stereo width.
Here’s what to listen for, in order of priority:
- Midrange clarity: How does a vocal sit in the mix? Can you hear sibilance clearly without it being harsh? Is a snare drum’s body and attack well defined?
- Transient detail: Can you hear the initial attack of a kick drum beater or a guitar pick on strings? Transient reproduction reveals the speed of the monitor.
- Stereo imaging: Close your eyes. Can you pinpoint individual instruments in the stereo field? Does the image collapse when you move your head slightly?
- Low-end definition: Don’t listen for bass quantity. Listen for bass articulation — can you hear the pitch of a bass note or just a rumble? Does a kick drum have distinct punch versus sustain?
- Fatigue: Listen for 20-30 minutes at moderate levels. Do you feel ear fatigue? Harsh monitors often cause listening fatigue quickly.
If you’re comparing monitors side by side, level match them as closely as possible using an SPL meter. A 1 dB difference in volume will make the louder monitor sound better every time, even if it’s actually less accurate. Most audio dealers will help you level match if you ask.
At home, you can do the same process if you have a return window. Set up the monitors in your own room, listen for a week, and then decide. Your ears will tell you more than any spec sheet.
Subwoofers: When to Add One and How to Integrate It
A subwoofer is not automatically beneficial for mixing. In small rooms, it often makes monitoring worse by introducing more low-frequency energy that interacts with room modes. The result is a bass response that sounds loud at your listening position but does not translate.
Consider a subwoofer in these scenarios:
- Your main monitors have limited low-end extension (e.g., 5-inch monitors in a medium-sized room) and you need to judge sub-bass content accurately.
- You work in a genre with significant subsonic content (electronic dance music, hip-hop, film scoring) where you need to feel the low end.
- You have a well-treated room where you can manage the low-frequency modes, and you have a measurement system to calibrate the subwoofer properly.
Integration is the hard part. The subwoofer’s crossover point should match your monitors’ natural roll-off. Typically that means a crossover around 80 Hz for 8-inch monitors, or 60–70 Hz for 6.5-inch monitors. Phase alignment is critical — if the subwoofer is out of phase with the main monitors, you’ll get cancellation in the crossover region. Most subwoofers have a phase switch (0° or 180°), but some have continuously variable phase controls for finer adjustment.
Placement matters enormously. A subwoofer in a corner will produce much more output but will also excite room modes unevenly. The sub-crawl technique — placing the sub at your listening position, crawling around the room to find where it sounds best, then placing the sub there — works in theory, but in small rooms you may not have many options. A measurement microphone with REW is far more reliable.
If you buy a subwoofer, get one with a high-pass filter for your main monitors. That way the main monitors don’t have to reproduce frequencies below the crossover point, which reduces distortion and improves headroom. Genelec, Adam, and Neumann all make subwoofers designed to integrate with their monitor ranges, and those systems typically include calibration software that handles crossover and phase automatically.
Common Monitor Mistakes (and How to Avoid Them)
After years of seeing engineers — beginners and experienced ones alike — make the same errors, here are the pitfalls to watch for:
- Over-relying on headphones for mixing decisions. Headphones bypass your room’s acoustics, but they also bypass your head-related transfer function (HRTF) and create unnatural stereo imaging. Use them for critical detail work and translation checks, not for balance decisions.
- Using EQ to fix your room’s frequency response problems. A graphic EQ on your master bus applied to compensate for a room mode does not solve the problem. It only changes the signal going to the monitors, but your room still has the same acoustic issues. Use room correction software as a finishing tool, not as a primary solution.
- Mixing too loud. Above about 85 dB SPL, your ears’ natural compression and distortion make it impossible to judge tonal balance accurately. Your mixes will end up dull, dark, or bass-light. Mix at 75–80 dB SPL for most of your session, and only check at higher levels briefly.
- Not taking ear breaks. Your ears fatigue over time. A 15-minute break every 45–60 minutes restores your ability to hear detail. Ignore this rule and you’ll make bad decisions without realising it.
- Buying monitors based on reviews alone. Every room is different. A monitor that sounds perfect in a professional control room may sound harsh or muddy in your bedroom. You must audition in your own space, or buy from a dealer with a generous return policy.
- Ignoring the importance of a listening position. Moving your chair six inches forward or backward can change the frequency response by 5–10 dB at certain frequencies. Spend time finding the optimal spot using measurement software.
Final Thoughts: Building a Monitoring System That Works for You
Your monitoring system is not just a pair of speakers. It’s a complete chain: the monitors themselves, their placement in the room, your room’s acoustics, your listening position, and your ears. Improving any single link helps. But the best approach is to treat the system as a whole.
If you’re just starting out, do not buy the most expensive monitors you can afford. Buy monitors that are appropriate for your room size, spend the rest of your budget on acoustic treatment and a measurement microphone, and invest time in learning your system. Listen to commercial mixes you admire on your monitors every day. Learn how they sound in your space. Once you know what a good mix sounds like on your system, you’ll be able to judge your own work with confidence.
If you’re ready to start researching, some models worth looking into include the Yamaha HS Series for reliable midrange neutrality, the Adam T Series for their ribbon tweeter clarity, and the Genelec 8040 for professional-grade accuracy. Pair any of these with a measurement microphone, a copy of Room EQ Wizard, and proper placement, and you’ll have a monitoring system that serves you for years.