Why This Guide Exists (And Why You Can Trust It)
Every producer started with nothing but a laptop and a bad pair of headphones. If you’re reading this, you’re probably in that phase — excited, overwhelmed, and not sure where to drop your first dollar. I’ve been through that hundreds of times over the last decade, both in cramped bedrooms and proper studios. This guide is the path I wish someone had handed me on day one.
There is no magic plugin, no secret EQ curve, and no “producer preset” that will make your tracks sound finished overnight. What does work is understanding a repeatable workflow, choosing tools that don’t fight you, and developing the discipline to finish songs. This beginner music production guide strips away the hype and gives you the grounded, practical route to making pro-grade noise at home — without wasting money on gear you don’t need or techniques you can’t use yet.
What You’ll Actually Need: The Essential Gear List
You do not need a $3,000 microphone or a room full of synthesizers. The gear that actually matters is surprisingly simple. Here’s the minimum viable setup to start producing music that sounds credible:
- A decent computer. Any modern laptop or desktop with at least 8GB of RAM and a solid-state drive. Processor speed matters more than graphics. An M1 Mac or a recent Intel i5/Ryzen 5 will serve you well for years.
- A Digital Audio Workstation (DAW). This is your entire studio in software. We’ll dive into choosing yours next.
- An audio interface. A Focusrite Scarlett 2i2 or Audient EVO 4 is the standard starting point. It gets clean audio into your computer and lets you monitor without latency.
- Closed-back headphones. Audio-Technica ATH-M50x or Beyerdynamic DT 770 Pro are the industry standards for tracking and mixing. Skip gaming headsets — they color the sound too much.
- One good microphone. A Shure SM57 or SM58 for most sources, or a large-diaphragm condenser like the Audio-Technica AT2020 if you’re recording vocals or acoustic instruments exclusively.
- Studio monitors (optional but recommended). KRK Rokit or Yamaha HS series in 5- or 7-inch sizes. Only buy these if you can treat your room.
- A MIDI keyboard. A 25-key controller from Arturia, Nektar, or Novation is enough to input chords and melodies. You don’t need 88 weighted keys yet.
- One good XLR cable and a mic stand. Don’t cheap out here — unreliable connections kill creative flow.
Total realistic budget for a starter rig that won’t hold you back: $600 to $1,200. You can do it for less with used gear, but avoid the cheapest possible options for your interface and headphones.
Choosing Your Digital Audio Workstation (DAW)
Your DAW is the center of everything. It decides your workflow, your tool set, and how quickly you can translate an idea into a recording. There is no “best” DAW — only the one that matches how your brain works. Here’s a breakdown from a producer who has used all of them professionally:
- Ableton Live — Best for electronic music, beat-making, and live performance. The Session View makes it incredibly fast to jam ideas. The learning curve is moderate. Free trial for 90 days.
- Logic Pro — Mac-only. Ridiculous value for $200. Best built-in instruments and loops. The workflow is linear and song-based, ideal for singer-songwriters, pop, and film scoring.
- FL Studio — Incredible for beat production and electronic genres. The pattern-based workflow is unique. The mixing environment is slightly less intuitive than others, but millions of producers use it daily.
- Pro Tools — Industry standard for tracking live bands and post-production. Powerful editing tools, but expensive subscription and a steep learning curve. Overkill for a beginner unless you plan to work in commercial studios.
- Studio One — The easiest DAW to learn quickly. Drag-and-drop everything, great stock plugins, excellent workflow for singer-songwriters and producers who record live instruments.
- Reaper and Cakewalk (free options) — Reaper is $60 for a personal license and runs on anything. Cakewalk is fully free for Windows. Both have a steeper learning curve but zero feature limitations.
Try the free trials of your top two candidates. Spend a weekend making a short loop or cover in each. One will click faster than the others. That’s your DAW. Don’t second-guess it — commit and learn it deeply.
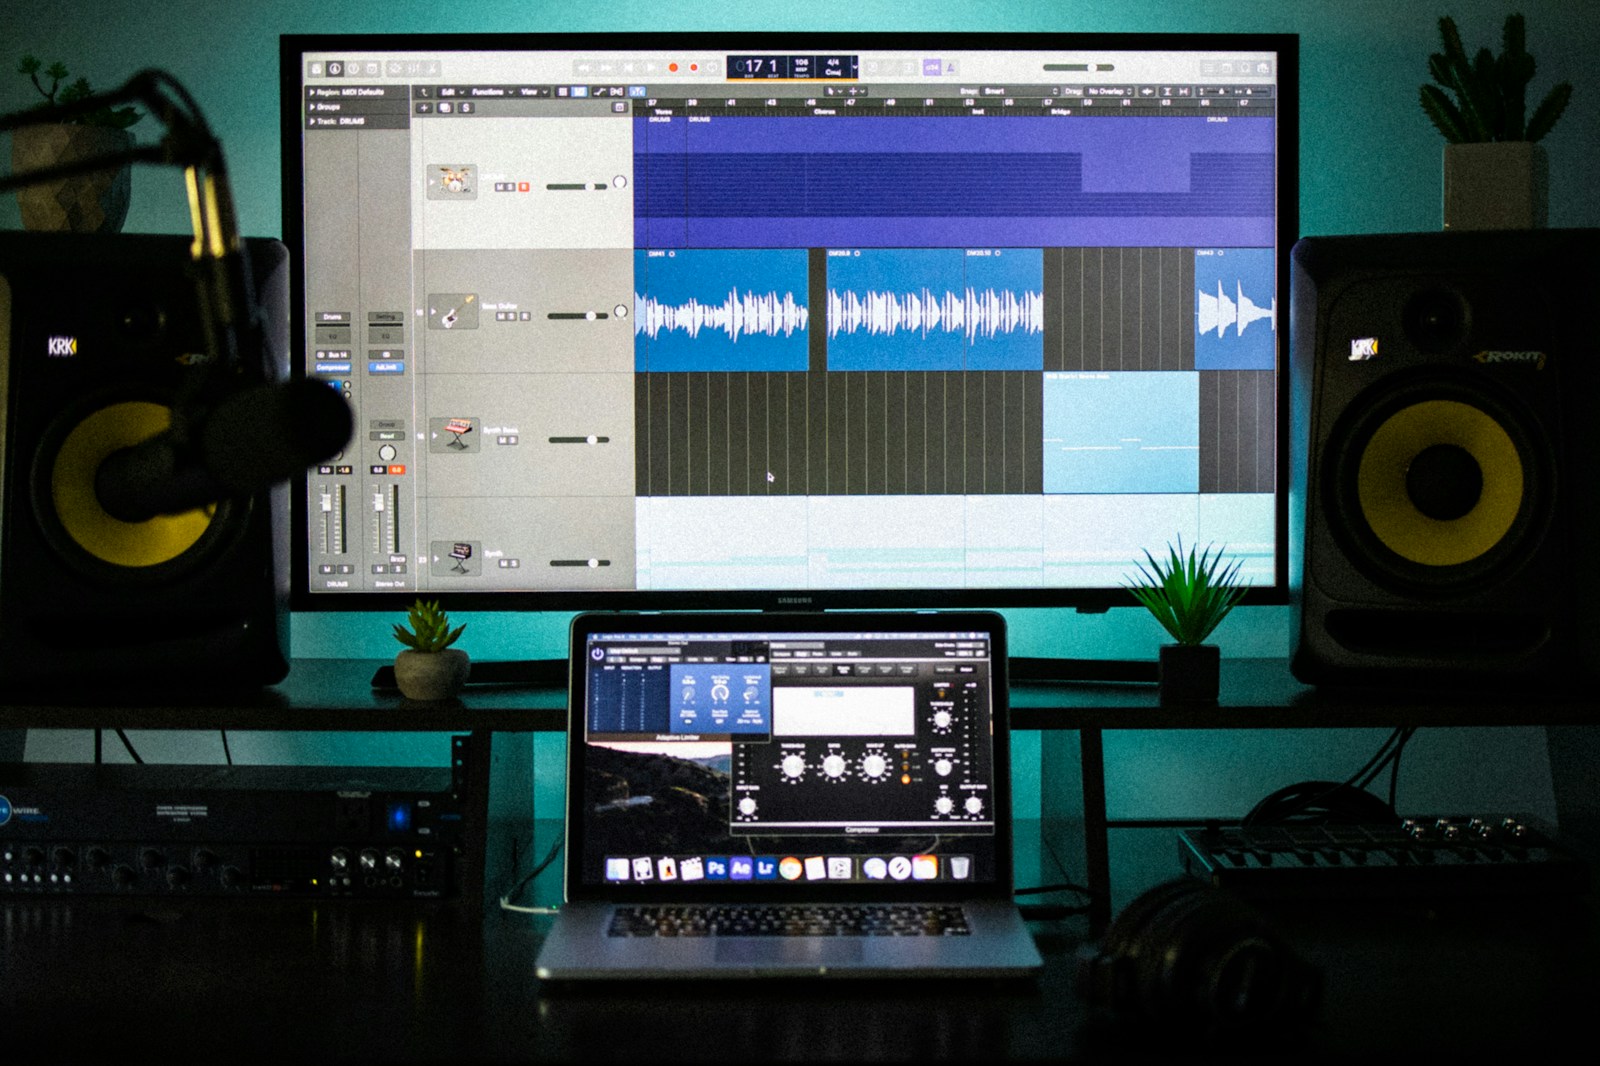
Setting Up Your Home Studio: Room, Desk, and Signal Flow
Your room is part of your instrument. A bad room makes good monitors sound like earbuds. You don’t need a treated control room, but you do need to be smart about what you can control.
Speaker Placement Basics
Place your monitors at ear level, forming an equilateral triangle with your listening position. Pull them away from the wall by at least a foot to reduce bass buildup. If you’re against a corner, you’ll get boomy low end that fools your ears into mixing tracks that sound thin elsewhere.
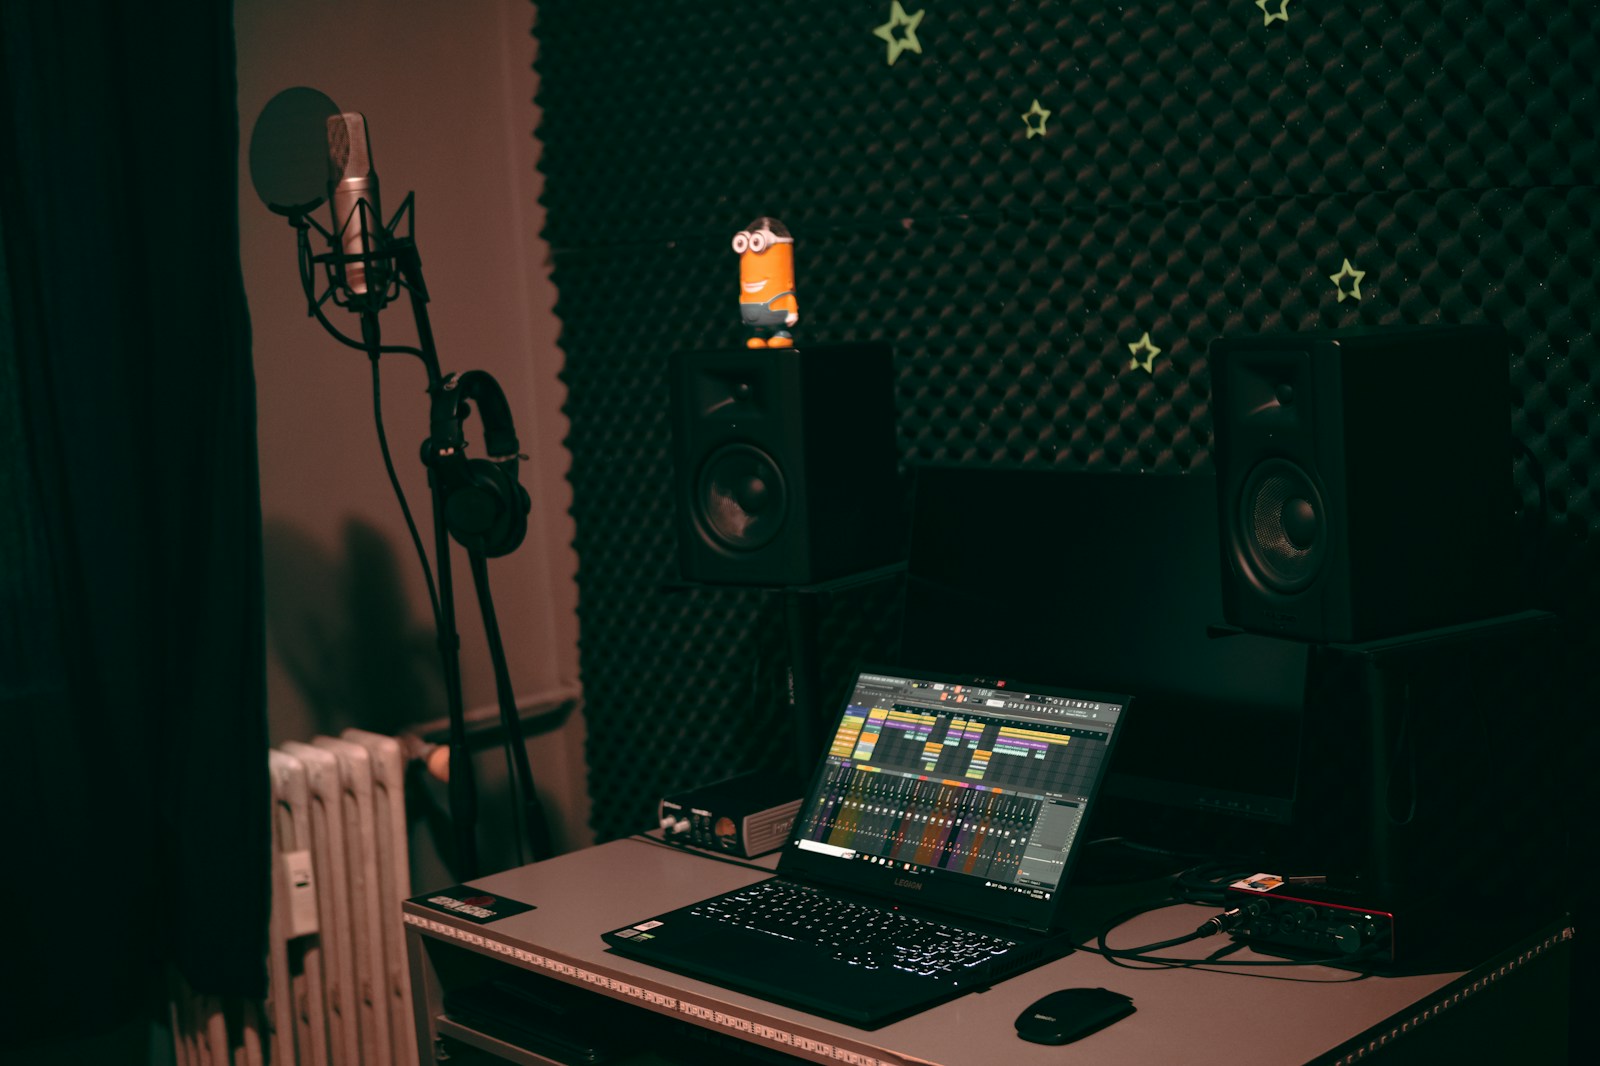
Room Treatment on a Budget
Start with the reflection points — the spots on your side walls and ceiling directly between you and the speakers. A few 2×4-foot acoustic panels cost around $100 and make a massive difference in clarity. Skip the foam egg crate stuff — it barely absorbs low frequencies. Thick moving blankets hung on walls work in a pinch.
Understanding Signal Flow
Signal flow is the path your audio follows: microphone or instrument goes into the interface, interface converts analog to digital and sends it to your computer via USB, DAW processes it, then sends it back to the interface for headphones or monitors. Understanding this chain helps you troubleshoot when something stops working and ensures clean gain staging at every step.
Keep cables organized, label everything if you can, and never run audio cables parallel to power cables — that’s how you get hum. A tidy desk isn’t just aesthetic; it keeps you in the creative zone instead of fighting technical problems.
The Core Workflow: Recording, Editing, and Arranging
This is the engine of music production. Master this sequence — record, edit, arrange — and you can make anything.
Recording Audio & MIDI
For audio recording: position your microphone one fist-width from the source for most instruments. Singers should have the mic at nose height, angled slightly away from the mouth to reduce plosives. Set your gain so the loudest peaks hit around -12 dBFS on the interface meter — not in the red, not whispering. Always record with a pop filter.
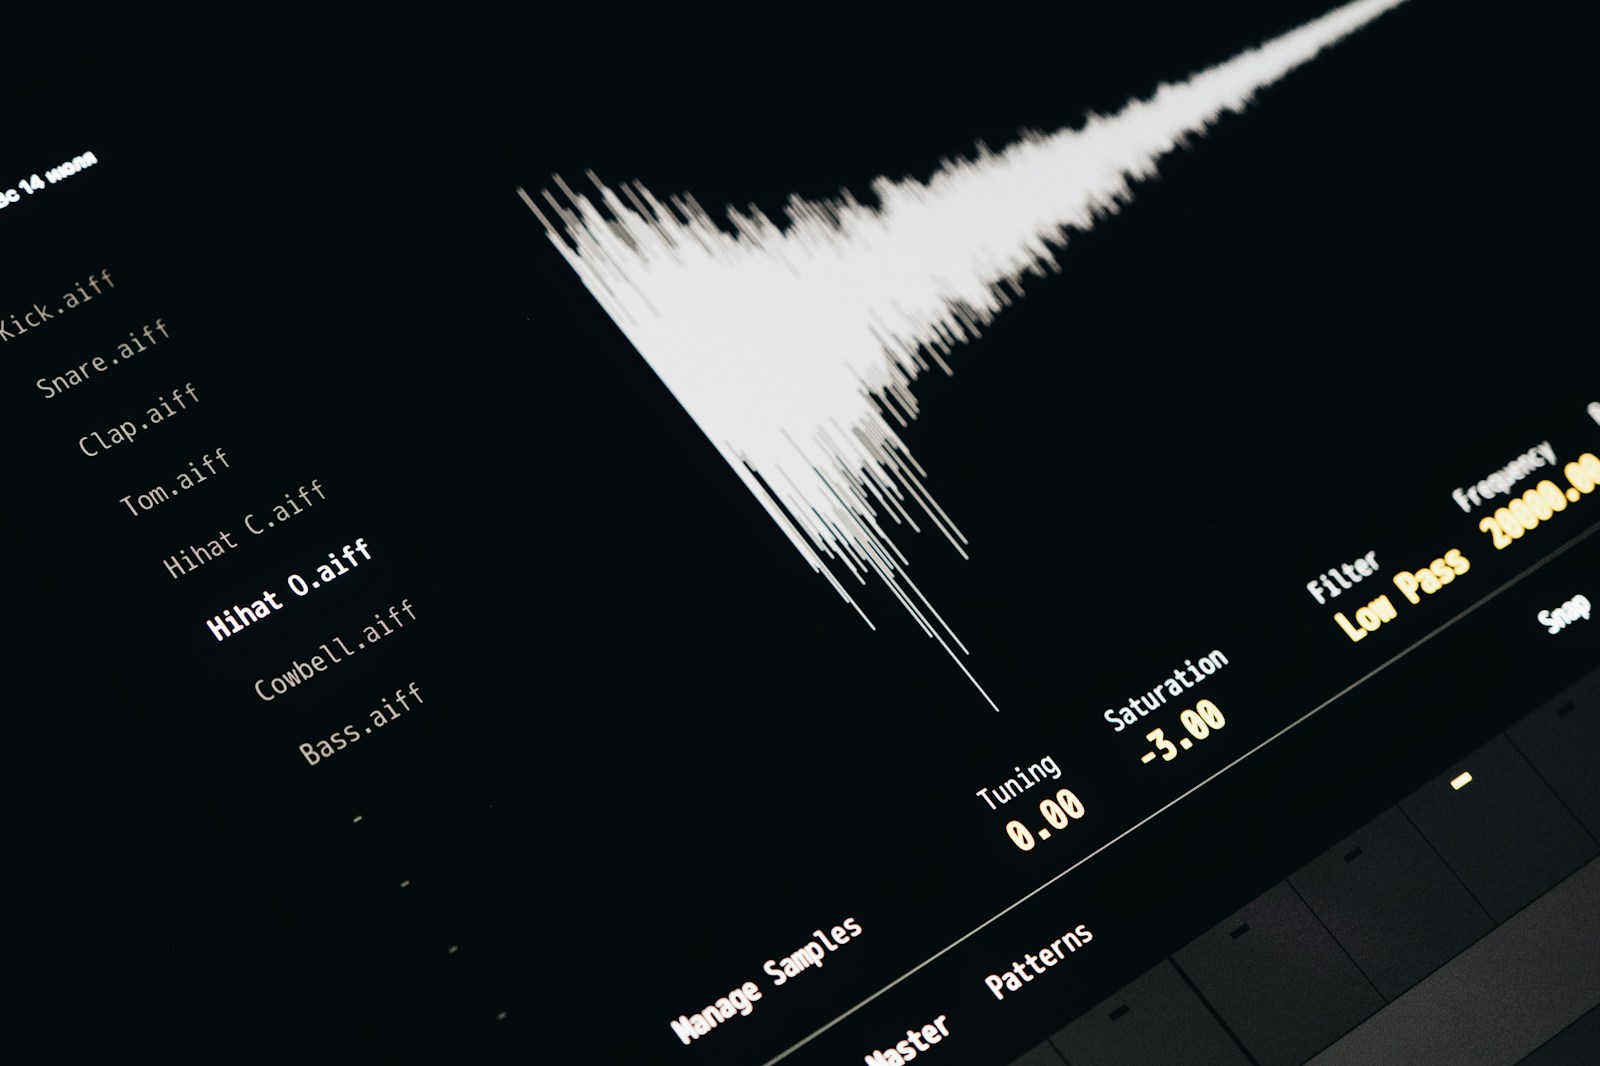
For MIDI: play your keyboard with intent. Velocity matters. A hi-hat at velocity 127 sounds nothing like a real hi-hat. Program your MIDI notes with natural variations in velocity, or play them in manually from your keyboard. Use the quantize function gently — at 50-70% strength — to tighten timing without killing the human feel.
Basic Editing: Quantizing, Comping, and Fades
Comping is your best friend. Record three or four takes of a vocal or instrumental part, then comp together the best phrases from each. Listen for moments of emotional delivery, not technical perfection. Use crossfades (2-10ms) between edited regions to avoid clicks. Quantize MIDI gently — never at 100% for anything meant to sound musical.
Arranging: Building a Song Structure
Start with a simple arrangement template: intro, verse, pre-chorus, chorus, verse, chorus, bridge, chorus, outro. Drag your loops and recordings onto the timeline in blocks. Focus on dynamic contrast — a section with just drums and bass makes the full-band chorus hit much harder. Don’t overcomplicate the structure early on. A well-arranged simple song beats a messy complex one every time.
Mixing Basics for Beginners: Balance, EQ, Compression, and Effects
Mixing is not magic. It’s making deliberate, small adjustments so every element sits where it belongs. Start with levels before touching anything else.
- Volume balance: Pull all faders down. Bring up the kick drum first, then the snare, then the bass, then build the rest of the mix around that foundation. Your vocal should sit clearly above the beat — if you can hear the guitar riff more than the singer, the levels are wrong.
- Panning: Spread instruments across the stereo field. Drums and bass stay center. Guitars, keys, and backing vocals can go left or right. Imagine you’re standing on a stage looking at the band.
- EQ basics: Cut before you boost. Remove low-end rumble (below 40 Hz) from everything except the kick and bass. Cut muddy frequencies (200-400 Hz) from guitars and vocals. A little high-end boost (8-12 kHz) can add air to vocals, but be subtle.
- Compression 101: Start with a 3:1 or 4:1 ratio, a fast attack, and medium release. Adjust the threshold so you’re shaving off 3-6 dB of gain reduction on the loudest peaks. Compression makes things sit together — it’s not an effect to abuse.
- Reverb and delay: Use sends (aux tracks) so multiple instruments share the same reverb space. This glues the mix together. Short reverb (1.5-2 seconds) for vocals, longer for pads. Use a delay on the vocal for width, not to fill the mix with echoes.
Mastering Fundamentals: Polish Your Mix Without Destroying It
Mastering is the final polish. For a beginner, the goal is simple: make your track loud enough without distorting, and ensure it sounds good on earbuds, car speakers, and phone speakers alike.
Start by bringing your mix into a new session or the master bus in your DAW. Add a limiter (like Ozone Imager or the stock limiter) and pull the threshold down until you see about 2-3 dB of gain reduction. Set your output ceiling to -1 dBTP (true peak) to prevent clipping. Use a loudness meter (free: YouLean Loudness Meter) and target around -14 LUFS for streaming compatibility. That’s quieter than most commercial tracks, but it leaves more dynamic range and won’t get turned down by YouTube or Spotify.
If your mix is already solid, mastering takes 10 minutes. If your mix is bad, no amount of mastering will save it. Invest your energy in the mix, not the master. When your tracks are consistently well-mixed, consider sending your songs to a professional mastering engineer — it costs around $50-150 per track and often delivers results you can’t match with plugins alone.
Common Beginner Mistakes and How to Avoid Them
I’ve made every single one of these. Learning them earlier would have saved months of frustration.
- Applying too many effects. If you have five EQs and three compressors on a single vocal channel, something is wrong. Fix the source recording, don’t layer plugins. A good performance with one compressor and one EQ blows away an over-processed one.
- Ignoring gain staging. If your tracks are clipping at the input, you’re already fighting uphill. Keep levels below -6 dBFS on individual tracks. Leave headroom for mixing. Turning everything down by 6 dB on the master fader is not good gain staging — fix it at the source.
- Mixing too loud. Working at conversation-level volume (around 75 dB or “coffee shop” level) reveals problems that loud listening masks. Your ears fatigue fast at high volumes, and your mix decisions get worse over time.
- Ignoring room acoustics. A room with bad reflections makes every mix sound boxy or hollow. Spend $100 on panels or blankets before you spend $500 on monitors. Trust me.
- Never finishing a track. You can’t improve if you never cross the finish line. Aim to complete one song every two weeks, even if it’s not perfect. Perfectionism is the enemy of progress in music production.
Next Steps: Practice, Projects, and Building Your Sound
This beginner music production guide has given you the essential map. Now, you have to walk the territory. Here’s how to keep moving forward:
Commit to finishing one track per week for the next month. It doesn’t have to be good — it just has to be done. Each finished track teaches you something about workflow, arrangement, and mixing that no tutorial can. Join online communities like the r/WeAreTheMusicMakers subreddit or producer Discord servers to share your work and get honest feedback from other beginners and experienced producers alike.
As you grow, start exploring genre-specific techniques. If you’re making hip-hop, study drum programming and sample chopping. If you’re making rock or indie, focus on recording live takes and comping. The fundamentals in this guide apply everywhere — the nuance is in the details you’ll discover by doing.
When you’re ready to upgrade your gear, check out our recommended starter studio gear list or revisit the DAW comparison to see if a different tool suits your evolving workflow. Keep making noise. Keep finishing tracks. The rest comes with time.