Introduction: Why Studio Monitors Are Different from Regular Speakers
Walk into any consumer electronics store and you will see speakers designed to make everything sound good. Bass is boosted. Highs are sparkly. The music feels exciting. That works for casual listening. But that excitement comes at a cost: accuracy.
Studio monitors are not built to flatter recordings. They are built to reveal them. A great monitor exposes the flaws in a mix so you can fix them. It does not hide a muddy low end or a harsh sibilance. It lays the recording bare. That honesty is what makes the difference between a mix that translates to car speakers, earbuds, and club systems and one that only sounds good on your own setup.
Understanding how studio monitors work is the first step to making consistently reliable mixes. Once you know what is happening inside that box, you can work with your monitors instead of against them.
The Core Components: Transducers, Crossovers, and Cabinets
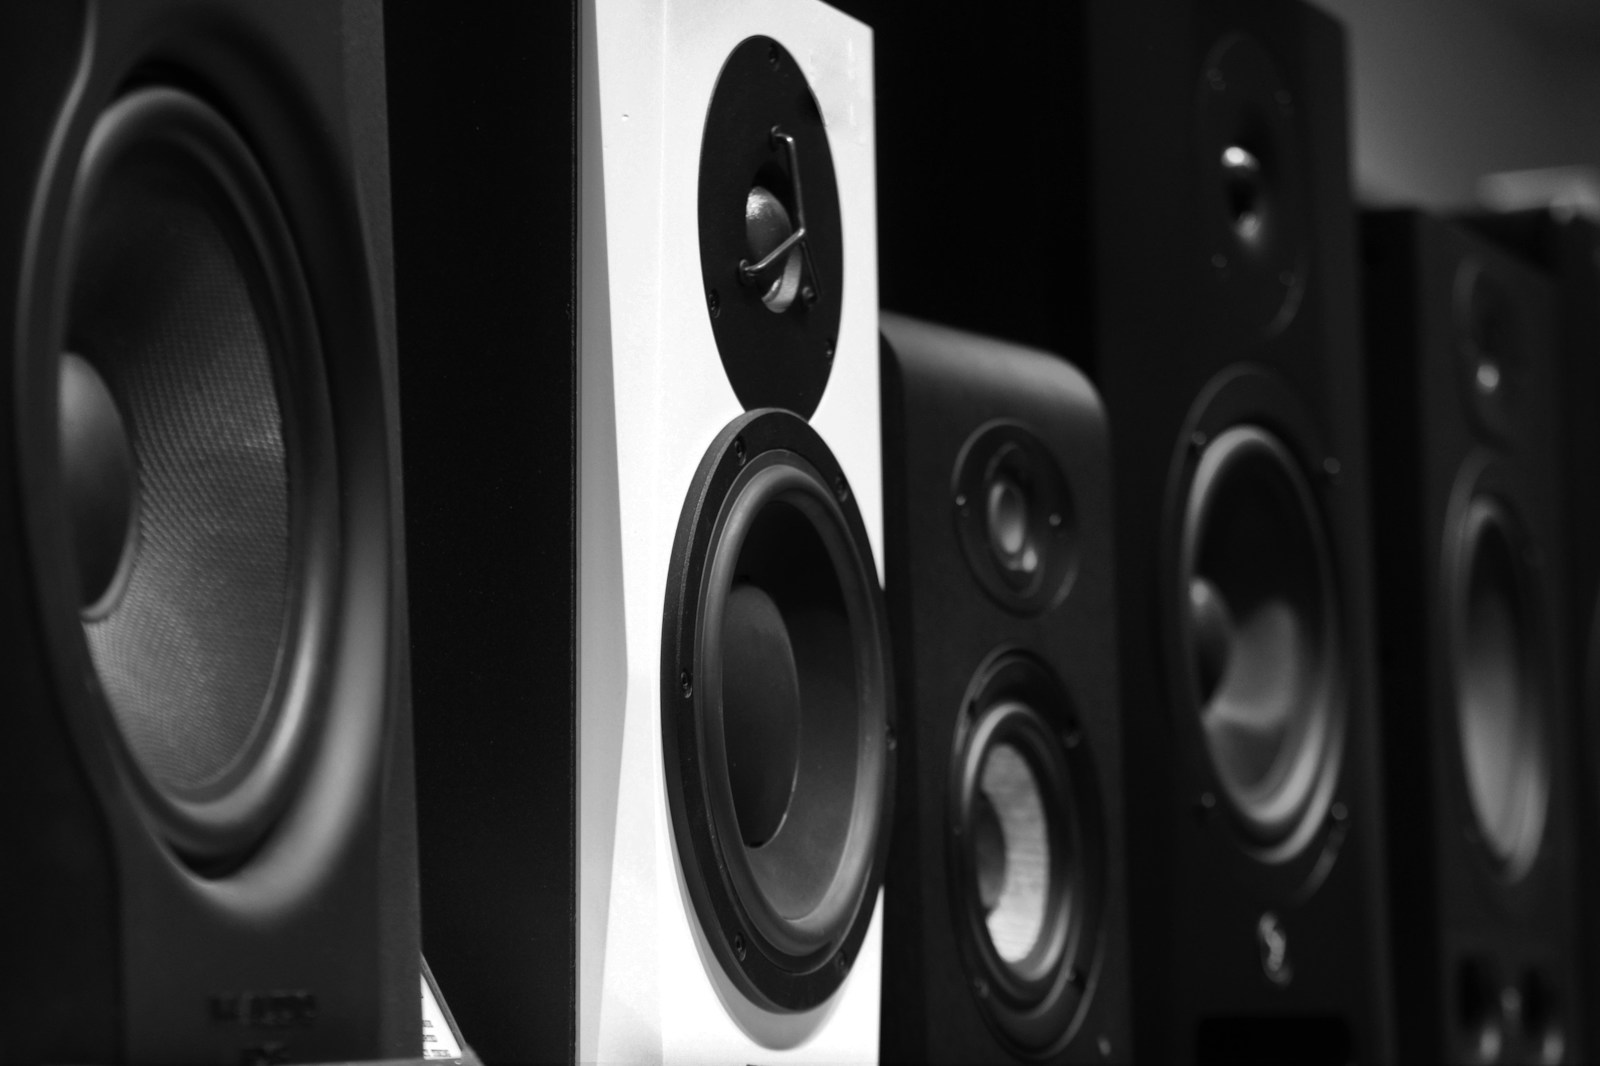
A studio monitor might look like a simple speaker, but it is a precision assembly of several critical parts. Each component has a specific job.
Woofers and Tweeters
The woofer handles low frequencies — typically from around 40 Hz up to 2–3 kHz depending on the design. It is a larger cone built to move significant air. The tweeter handles the high frequencies above that point. It is smaller, lighter, and responds faster to rapid changes in the audio signal.
Both are transducers. They convert electrical energy into mechanical movement, which displaces air and creates sound waves. Precision matters here. A well-designed cone material and motor structure reduce distortion and allow the monitor to reproduce transients like kick drum hits and snare cracks cleanly.
The Crossover Network
Think of the crossover as a traffic cop. It takes the full-range audio signal and splits it into frequency bands. Low frequencies go to the woofer. High frequencies go to the tweeter. The crossover ensures each driver only handles what it is optimized for. A poorly designed crossover creates phase issues and uneven frequency response, which is why cheap speakers sound disjointed. Pro monitors use carefully calculated crossover slopes to keep the transition seamless.
The Cabinet
The enclosure houses everything. Its job is to prevent sound from the back of the woofer from interfering with the front wave. That is why cabinets are heavily braced, damped, and often ported or sealed. A resonant cabinet adds its own coloration to the sound, which is exactly what you do not want in a monitor. High-end monitors use complex internal bracing and non-parallel walls to minimize standing waves inside the box itself.
Active vs. Passive Monitors: Amplifiers and Power
One of the most important distinctions in monitor design is whether the amplifier is built in or separate.
Active monitors have an internal amplifier that is matched to the drivers by the manufacturer. Most pro-level active monitors are bi-amped or even tri-amped, meaning there is a dedicated amplifier channel for each driver. This allows the crossover to work at line level before the signal is amplified, which reduces distortion and gives the designer precise control over the sound. Active monitors are the standard in professional studios for a reason: they remove the guesswork of amplifier matching.
Passive monitors require an external power amplifier. This gives you flexibility to choose your own amp and upgrade components separately, but it also introduces more variables. You have to match the amplifier power to the monitor’s sensitivity and impedance. An underpowered amp can clip and damage tweeters. An overpowered one can overwhelm the drivers. For most home studio users, active monitors are the simpler and more reliable choice.
| Feature | Active | Passive |
|---|---|---|
| Amplifier | Built-in, matched | External, must purchase separately |
| Crossover | Active (line level) | Passive (after amplification) |
| Setup complexity | Plug and play | Requires amp selection and wiring |
| Upgradability | Limited to the monitor | Can upgrade amp independently |
Frequency Response and Why Flat Matters
Frequency response is the measure of how evenly a monitor reproduces sound across the audible spectrum. It is usually expressed as a range with a tolerance — something like 45 Hz – 22 kHz ± 2 dB. The tighter the tolerance, the more neutral the monitor.
Flat response means the monitor does not artificially boost or cut any frequencies. A flat monitor reproduces the signal as accurately as possible. When you hear a mix through flat monitors and it sounds bass-heavy, the mix actually is bass-heavy. That is information you can act on. If you use a speaker that exaggerates bass, you will instinctively turn down the low end in your mix. Then your mix sounds thin on any system that does not have that artificial boost.
The same logic applies to treble. Bright speakers make your mix sound harsh when played back on neutral systems. Dull speakers make you overcompensate with high-frequency EQ. Flat response is your reference point. It is not about sounding impressive. It is about being trustworthy.
Most budget monitors have a tolerance of ± 3 dB. High-end monitors aim for ± 1.5 dB or better. That difference matters when you are making critical EQ decisions on a vocal or a snare drum.
Nearfield vs. Midfield vs. Main Monitors: Placement and Room Interaction
Monitors are categorized by the distance at which they are designed to be used.
Nearfield monitors are built for close listening — typically three to five feet from your ears. They minimize the influence of the room because the direct sound from the speaker reaches your ears before most reflections. This makes them ideal for smaller home studios and control rooms where acoustic treatment is limited. Nearfield monitors are what most producers start with and use daily.
Midfield monitors sit farther back, usually five to eight feet. They are common in larger control rooms where the listening position is farther from the wall. These monitors produce higher SPL and can deliver more low-end authority, but they interact more with the room’s acoustics.
Main monitors are the big guns. They are often soffit-mounted into the walls of commercial studios. They deliver full-range, high-SPL sound and are used for critical listening and client playback. They require heavily treated rooms to function properly.
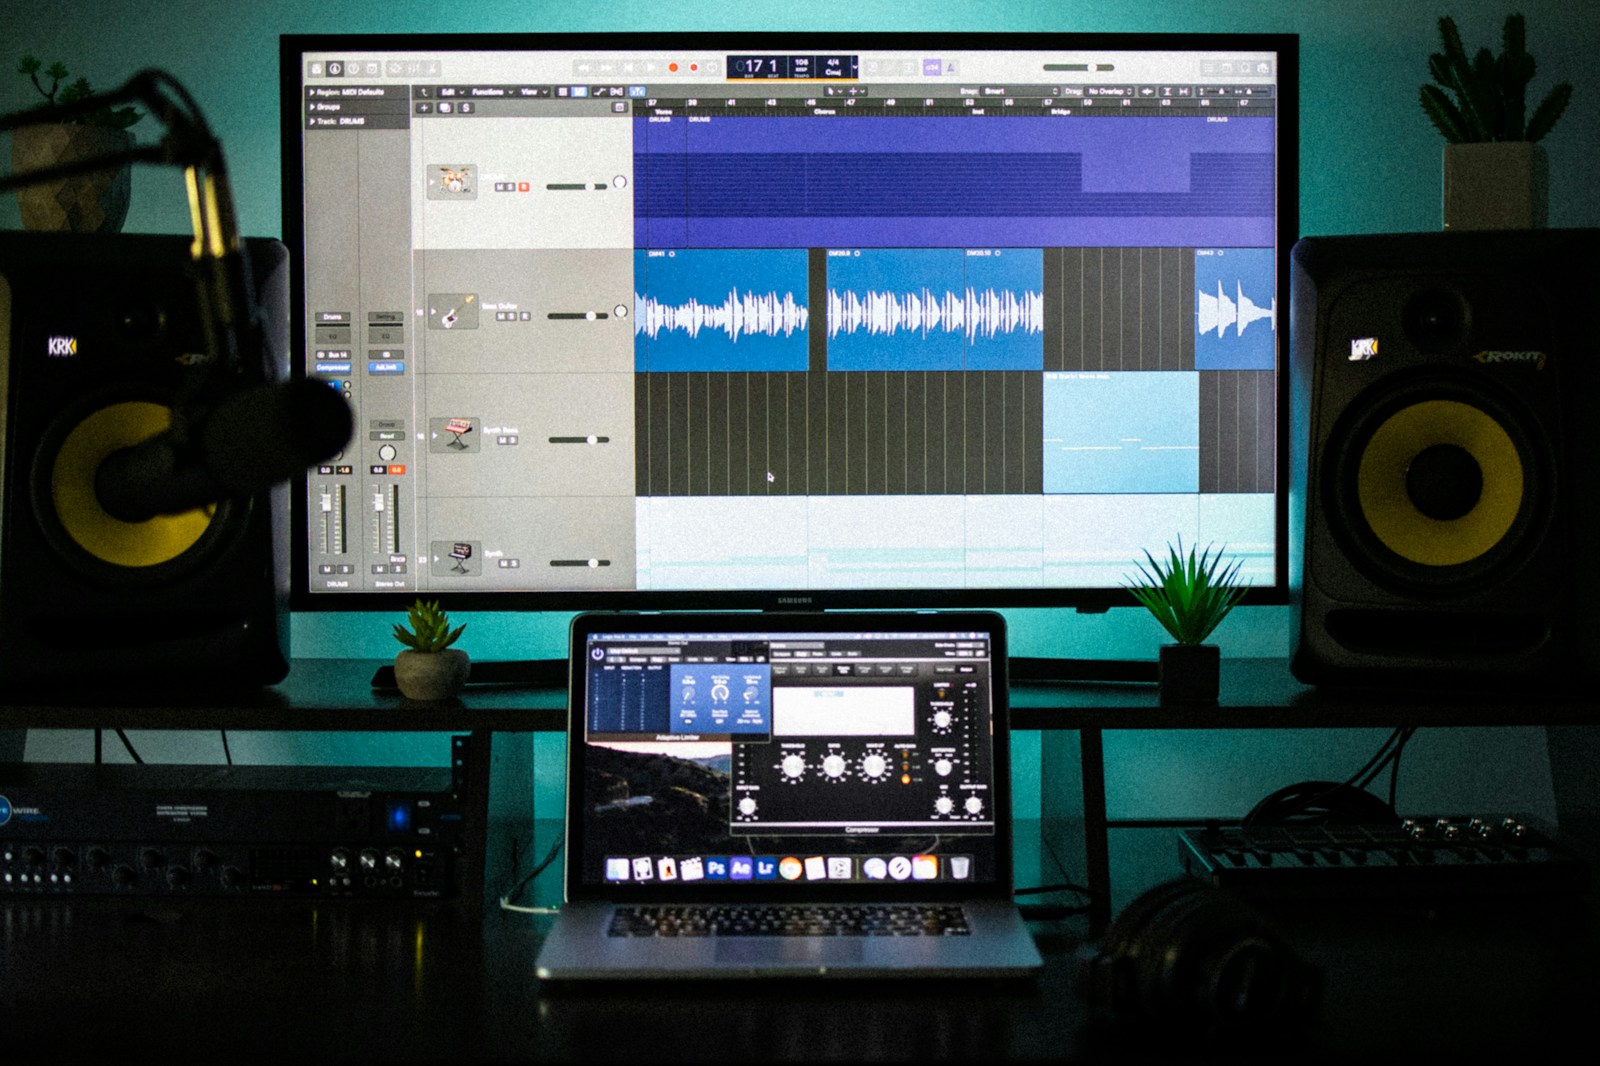
For the home studio, nearfield is almost always the right choice. Placement matters enormously. Your monitors should form an equilateral triangle with your listening position. The tweeters should be at ear height. They should not be too close to the wall behind them, especially rear-ported models, because boundary reflections cause bass buildup that fools your ears.
Isolation pads can decouple the monitors from the desk, reducing low-frequency vibrations that muddy the sound. Even simple foam pads make a noticeable difference.
The Role of Room Acoustics: You Can’t Fix What You Can’t Hear
Here is the hard truth: the best monitors in the world sound terrible in an untreated room. Room modes — standing waves caused by parallel surfaces — create peaks and nulls in the low-end response. Move your head six inches and the bass level changes. That is not the monitor’s fault. It is physics.
Bass traps in the corners absorb low-frequency energy and smooth out the response. Acoustic panels at the first reflection points reduce flutter echo and comb filtering. Even modest treatment does more for your mixing accuracy than upgrading to a more expensive monitor.
A measurement microphone and software like Room EQ Wizard (REW) let you see exactly what your room is doing to the sound. You can identify problem frequencies and decide whether to treat them acoustically or apply corrective EQ. Some monitors include built-in DSP and room correction features that can help compensate for mild acoustic issues, but they are not a substitute for proper room treatment.
Understanding the relationship between monitors and the room is essential. You cannot make reliable mixing decisions if the room is lying to you.
Common Misconceptions About Studio Monitors
Let us clear up a few persistent myths.
- More watts equals better sound. Wattage is a measure of power handling, not accuracy. A 50-watt monitor can out-perform a 200-watt monitor if the 50-watt design has lower distortion, better drivers, and a more neutral response. Focus on clarity at your typical listening level, not peak volume.
- Bigger monitors always have better bass. A larger woofer can move more air, but it also requires a larger cabinet and more power. In a small room, a 5-inch woofer is often more accurate because it avoids exciting room modes as aggressively. Monster bass in a bad room is just mud.
- Monitors don’t need a subwoofer. This depends on your genre and your expectations. Many nearfield monitors roll off around 50–60 Hz. If you work on music that relies on deep sub-bass — electronic, hip-hop, modern pop — a subwoofer can be valuable. But integrating a sub takes careful setup and measurement to avoid phase issues and boomy response.
- You can use hi-fi speakers for mixing. You can, but you will regret it. Hi-fi speakers are designed to make everything sound good. They color the sound with EQ curves that vary by brand. A mix that sounds balanced on them will typically sound dull on other systems. You simply cannot learn the translation.
How to Choose the Right Monitors for Your Setup
Selecting monitors is about matching the tool to your situation. Here is a practical checklist to guide you.
- Measure your room. Know the dimensions. Small rooms (under 150 square feet) generally benefit from 5-inch woofers. Medium rooms can handle 6.5 or 8-inch woofers. Larger treated rooms can go bigger.
- Decide on listening distance. If your desk is against a wall, nearfield monitors are the only realistic option. Measure your listening triangle before buying.
- Set a realistic budget. The sweet spot for home studio monitors is roughly $300 to $800 per pair. Below that, you trade off accuracy and distortion. Above that, you get diminishing returns unless your room is properly treated.
- Consider your genre. If you produce bass-heavy music, prioritize monitors with good low-end extension and consider a subwoofer later. For acoustic or classical work, midrange clarity and stereo imaging matter more.
- Listen before you buy. Frequency response graphs and reviews are helpful, but your ears in your room are the final judge. If possible, demo monitors in your own space. Many retailers offer trial periods.
Once you have your monitors, spend time learning their sound. Listen to reference tracks you know intimately. Compare your mixes on headphones, car speakers, and earbuds. The goal is to build trust in what your monitors tell you.
Final Thoughts: Trust Your Monitors, Trust Your Mixes
Studio monitors are not magic. They are precision tools designed to reveal the truth about your audio. The better you understand how they work — the drivers, the crossover, the amplifier, the room — the more effectively you can use them.
Accuracy is not about having the most expensive gear. It is about knowing what your gear does and compensating for its limitations. A modest pair of monitors in a treated room will outperform a high-end setup in an untreated space every time.
Take the time to learn the science. Your mixes will thank you. If you found this guide useful, explore more of our educational resources or subscribe for deeper dives into the tools that make better recordings possible.