Why Your Home Studio Mixes Sound Amateur (And How to Fix It)
I’ve made every mistake on this list. Some of them I made more than once. When I started producing from my bedroom, I blamed my gear. Then I blamed my room. Then I blamed my ears. Eventually I realized the problem was workflow — not wallet. The difference between a mix that sounds like a demo and one that sounds ready for release often comes down to a handful of operational habits. Not expensive gear. Not some secret plugin. Just the way you set up, monitor, and treat your space. Here are the ten most common home studio mistakes I see producers make, and exactly how to fix each one.
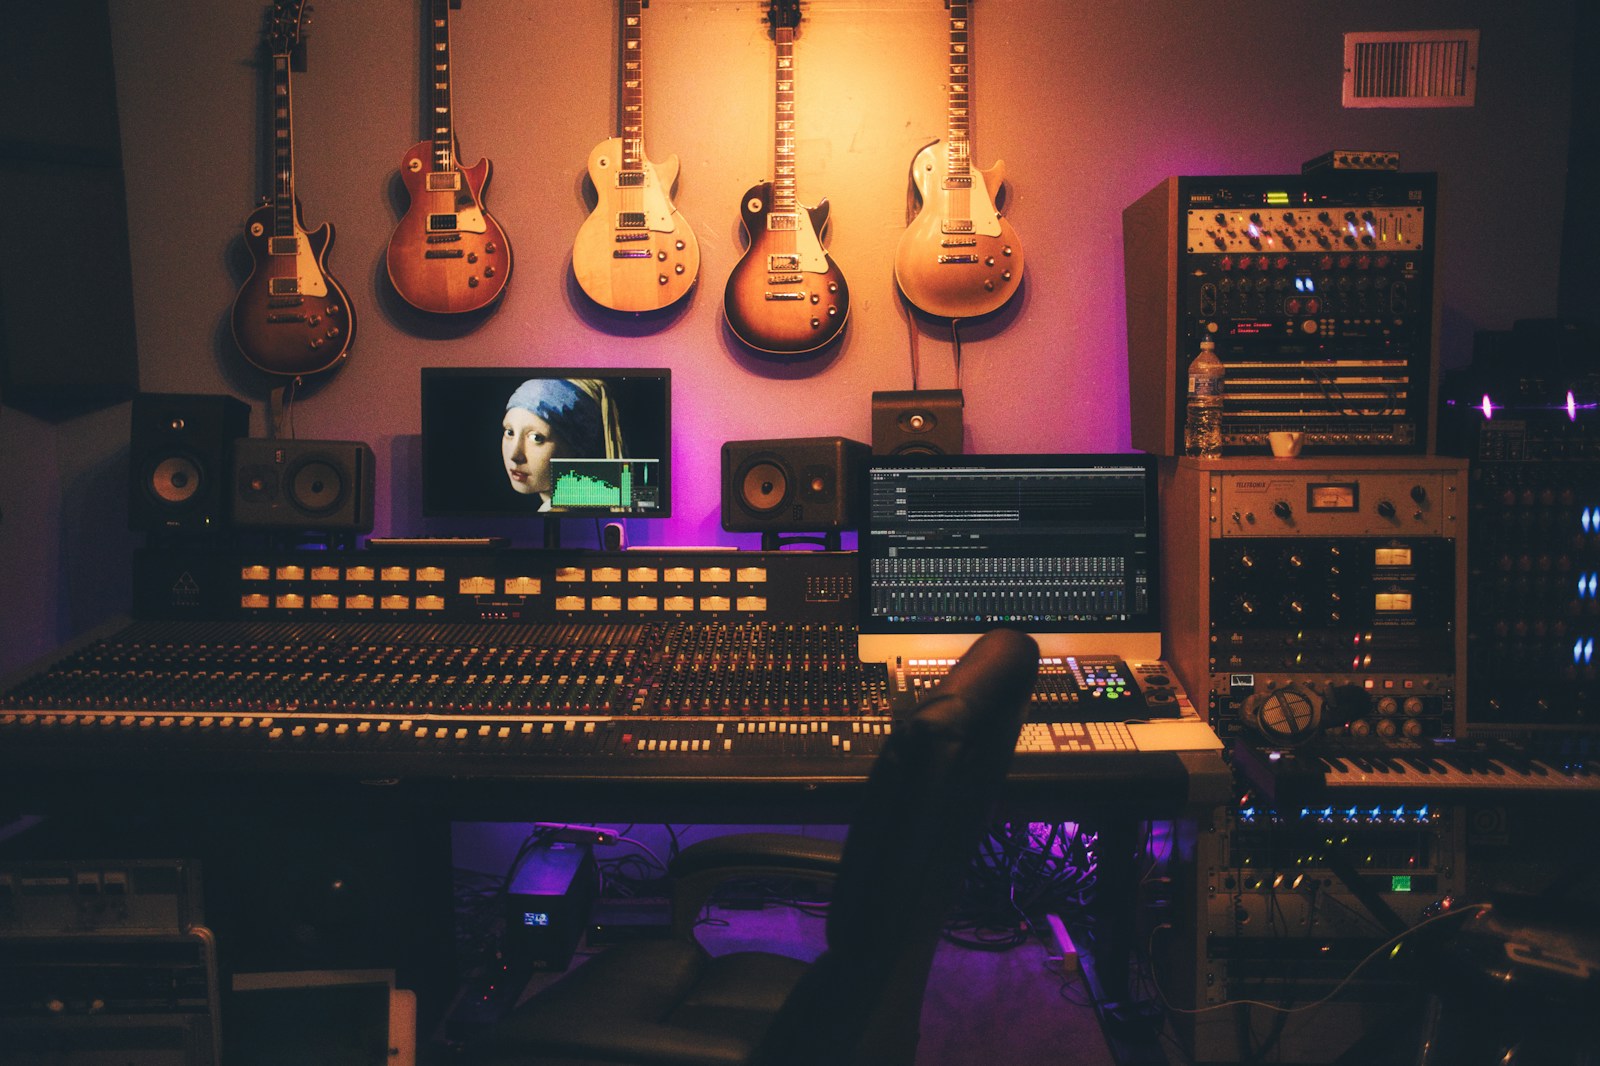
Mistake #1: Treating Your Room Like a Recording Studio Instead of a Home
Most home producers either cover every surface with foam or leave the room completely bare. Both approaches miss the point. A small bedroom with thin walls and a low ceiling will never sound like a commercial control room — and that’s fine. The goal isn’t dead silence. The goal is removing the biggest acoustic problems: bass build up in corners and early reflections at your listening position.
Here’s a practical checklist for under $200:
- Place 4-inch thick bass traps in two corners behind your monitors
- Hang a thick moving blanket or rug on the wall directly behind your listening spot
- Use bookshelves or furniture to break up parallel walls
- Put a rug on the floor if it’s hard tile or wood
You don’t need a treated room. You need a room that isn’t lying to you.
Mistake #2: Buying Gear Before You Know Your Room
I spent six months saving for a Neumann microphone. The day it arrived, I plugged it in, pressed record, and got the same boxy, muddy vocal sound I had with my old $100 mic. The problem wasn’t the mic. The problem was my untreated corner closet I was recording in. A better mic only captures your bad room with higher fidelity. Before you buy another preamp, another compressor, another interface — fix your monitoring environment. You’ll get more improvement from a $50 bass trap than a $500 channel strip. Upgrade your space first, then your signal chain.
Mistake #3: Monitoring at the Wrong Volume
Mixing too loud tricks your ears into thinking everything sounds punchier and more exciting. Mixing too soft makes you compensate by boosting frequencies you can barely hear. The sweet spot for critical listening is around 75–80 dB SPL. That’s conversational volume — loud enough to hear detail, quiet enough to keep your ears fresh and your decisions honest.
Download a free SPL meter app for your phone. Set your monitors so that pink noise hits about 78 dB at your listening position. Mark that volume knob setting with a piece of tape. Now you have a repeatable reference point for every mix session.
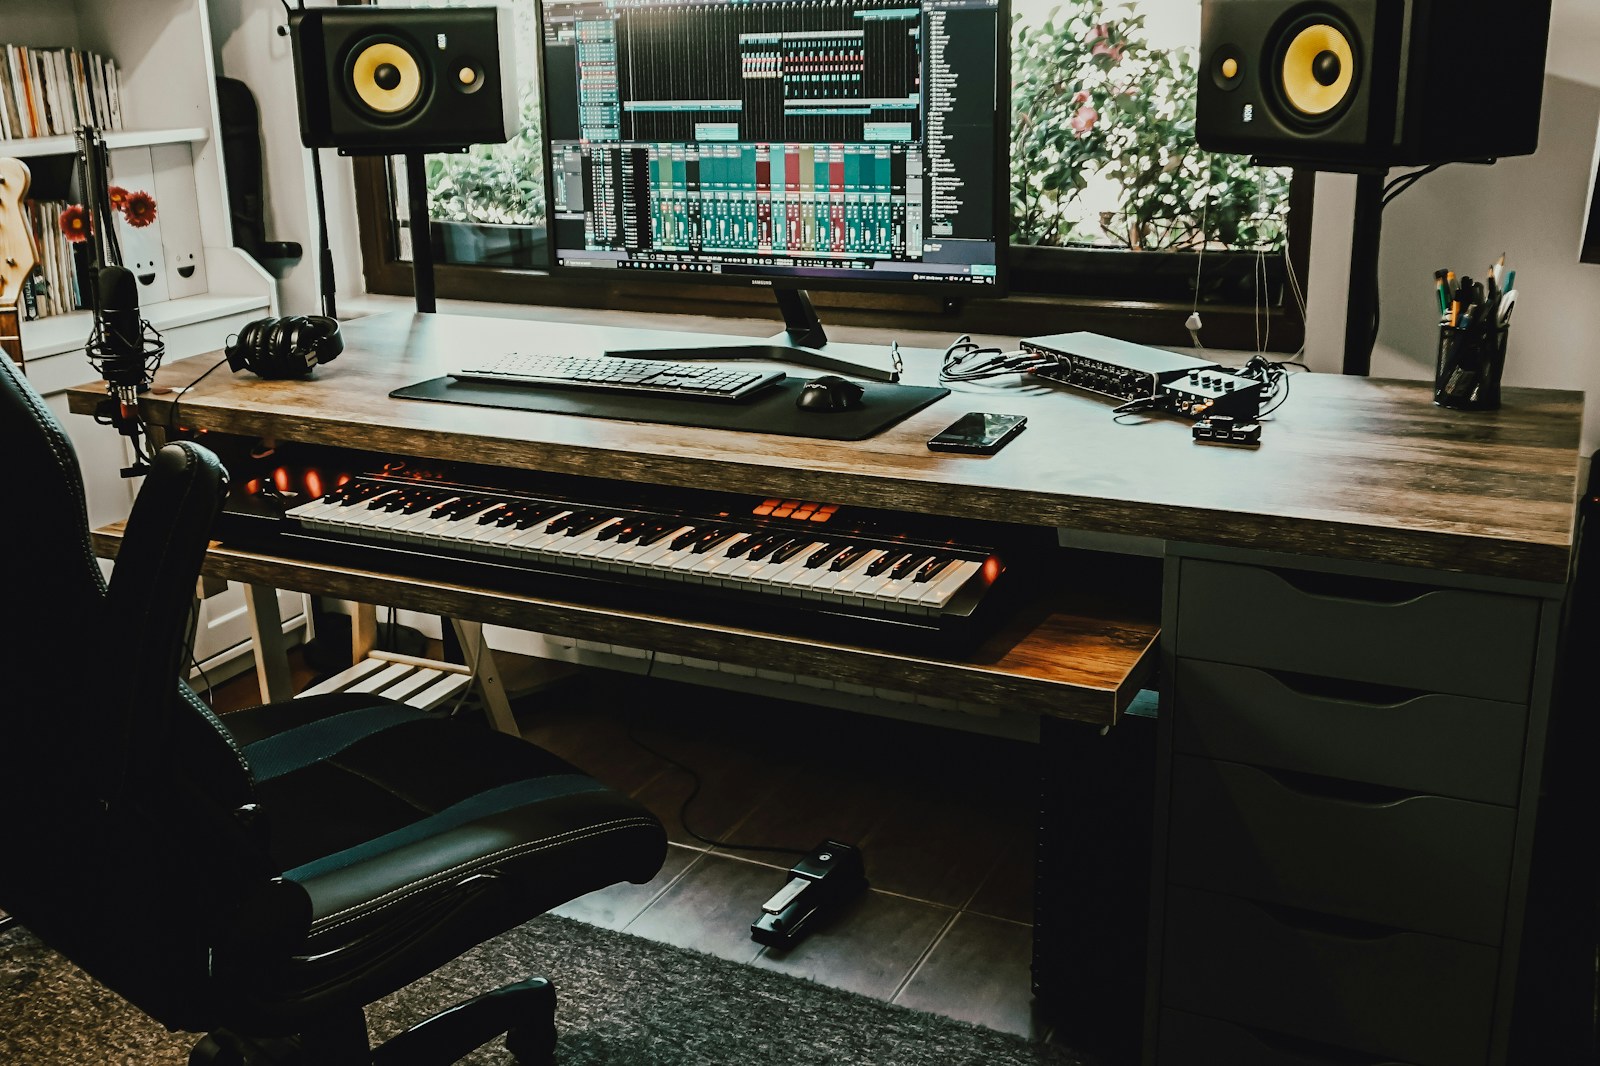
Mistake #4: Ignoring Headphone Translation
Headphones are essential for home studios. They’re also the fastest way to build a mix that falls apart on speakers. The problem is stereo separation. Headphones present an unnaturally wide soundstage, so you tend to pan things hard and boost frequencies that sound thin in the cans. Then you play your mix on a bluetooth speaker and the vocal disappears.
Use headphones for tracking and detailed editing, but check your mix on speakers as often as possible. If you don’t have monitors, use a crossfeed plugin like CanOpener or Goodhertz to simulate speaker-like imaging. And always do your final balance check on at least two different playback systems: car speakers, earbuds, laptop speakers — whatever you have.
Mistake #5: Clipping Your Mix Bus Before Mastering
I get it. Seeing that master fader hit the red feels powerful. But digital clipping destroys headroom and kills dynamics. When you squash your mix bus with a limiter during tracking or rough mixing, you remove the mastering engineer’s ability to shape the final sound. You also force every element to fight for space, which makes your mix sound small and flat.
Set your mix bus so the loudest peaks hit around -6 dBFS. That leaves 6 dB of headroom for mastering. If you’re self-mastering, you can bring it up later. And no — turning down every track by 2 dB doesn’t fix the problem. You need to gain stage properly from the start. Record at moderate levels. Keep your plugin input/output gains balanced. Leave the loudness for the final stage.
Mistake #6: Using Too Many Plugins Too Early
The “fix it in the mix” mindset is dangerous. When you track a vocal with a cheap mic in a bad room and slap a reverb and a compressor on it to mask the problems, you’re not fixing anything — you’re decorating a bad foundation. Every plugin adds phase shift, latency, and processing artifacts. Stack enough of them and your clean recording turns into digital mud.
Get the cleanest capture you can at the source. That means proper mic placement, good gain staging, and a quiet recording environment. Process during mixing, not tracking. If you absolutely need effects for vibe, print them to a separate track so you can revert to the dry signal. Your future self will thank you.

Mistake #7: Not Using Reference Tracks
Mixing in a vacuum is like cooking without tasting. You have no idea if your seasoning — EQ, compression, balance — is correct until you compare it to something you trust. Most beginners guess their way to a tonal balance that sounds good in their room but translates poorly everywhere else.
Pick three professionally mixed tracks in a similar genre to what you’re working on. Import them into your DAW and set their volume so they match your mix’s perceived loudness. Then A/B during every major mixing stage: after balancing, after EQ, after compression. You’ll hear exactly where your mix is too bass-heavy, too bright, or lacking center focus. Free tools like Reference by Mastering The Mix work, but even just dragging tracks into your session and muting/soloing works fine.
Mistake #8: Poor Cable Management and Noise Floor
I once spent three hours trying to diagnose a hum that turned out to be an extension cord sitting six inches from an unbalanced guitar cable. Dirty power and messy cable runs are a common source of noise floor problems in home studios. You don’t need a power conditioner, but you do need to keep audio cables away from power cables, especially on the floor where they run parallel to each other.
Here’s the fix in three steps:
- Use one dedicated power strip for your audio gear. Don’t plug your monitors into the same strip as your desk lamp, phone charger, and space heater.
- Keep audio cables (XLR, instrument, patch) crossing power cables at 90-degree angles, not running parallel.
- Use balanced connections whenever possible — XLR for mics, TRS for line-level gear, and never run unbalanced cables longer than 15 feet.
Mistake #9: Mixing with Unbalanced Headphones
Not all headphones are created equal. Consumer-grade earbuds and gaming headsets exaggerate low frequencies and roll off the highs to sound “fun.” Mix on them and you’ll end up with a mix that’s bright and thin everywhere else. Cheap headphones also have uneven frequency response, meaning you’re compensating for dips and bumps that don’t exist in the real world.
You don’t need $500 headphones. A solid entry-level pair in the $80-$150 range will give you a flatter, more reliable sound. Look for semi-open or open-back designs — they tend to have better stereo imaging and less bass hype. Try before you buy if possible, and always check your mix on multiple systems to confirm what you’re hearing.
Mistake #10: Not Taking Breaks (Ear Fatigue)
This mistake cost me an entire weekend once. I was deep in a mix, convinced the snare needed more presence at 3 kHz. I pushed it. An hour later, I pulled it back. Thirty minutes after that, I pushed it again. By the end of the night, I had a mix that sounded harsh and brittle, and I couldn’t figure out why. The answer: ear fatigue.
Your ears adapt to sound over time. After about 50 minutes of continuous listening, your perception of frequency balance shifts. You start boosting what sounds quiet and cutting what sounds loud — and none of it is accurate. Follow the 50/20 rule: work for 50 minutes, then take a 20-minute break. Leave the room. Drink water. Let your ears reset. You’ll make better decisions in the first 10 minutes after a break than you will in the last 30 minutes before one.
Your Next Step: One Fix Per Session
You don’t need to overhaul your entire setup overnight. That’s a recipe for frustration and abandoned projects. Pick one mistake from this list and fix it in your next session. Move your monitors. Calibrate your listening level. Check your cable routing. One change. One session.
That’s how real improvement happens — not by buying new plugins, but by fixing the fundamentals. Your mixes will sound better, your sessions will be more productive, and you’ll stop wondering why your tracks don’t translate. Pick one, fix it, and hear the difference.