Why Your Room Is Your Biggest Enemy
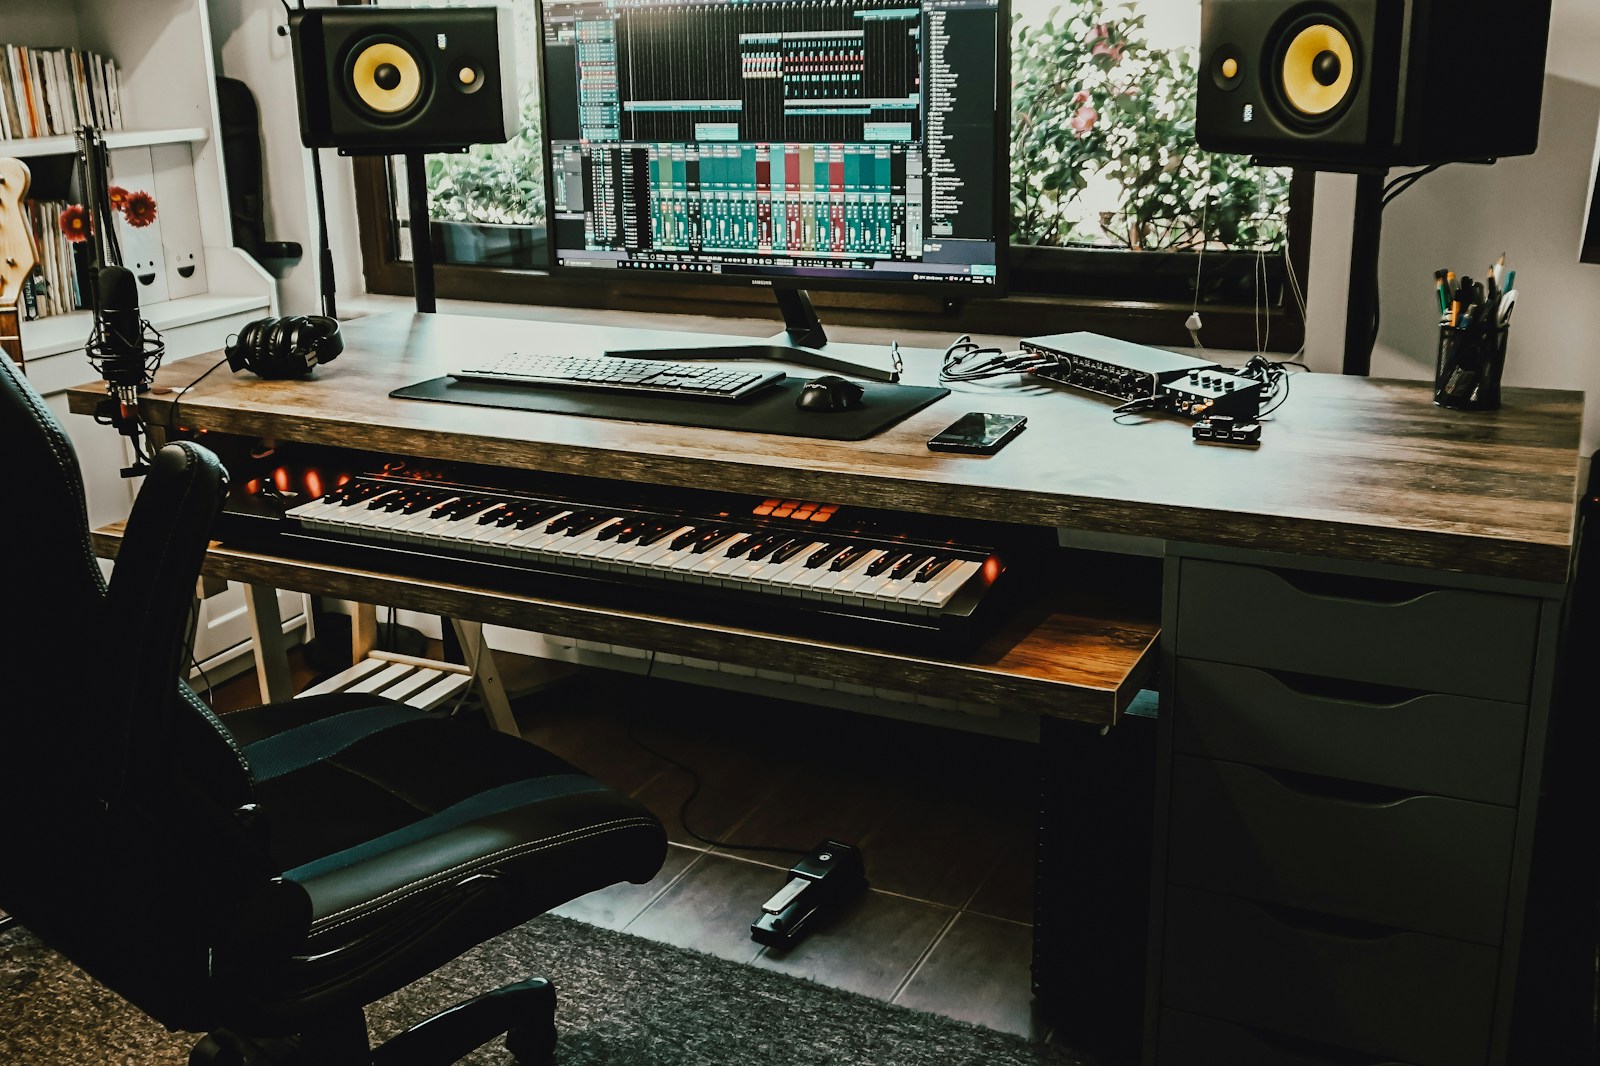
You dropped serious money on that vintage Neumann, your preamp is clean, and your converters are clocked tighter than a Swiss railway. Then you play back the vocal track and it sounds like you recorded it in a concrete stairwell. This is not a gear problem. This is a room problem.
A bad room does not care how expensive your microphone is. It will imprint its own sonic signature on everything you record — muddy low end, hollow mids, and a smear of reflections that no plugin can fully undo. I’ve heard demos recorded with a $3,000 chain in an untreated bedroom that sounded objectively worse than a $300 dynamic mic in a properly treated live room. The room is the first and most important piece of gear you own.
Flutter echo, standing waves, comb filtering — these aren’t abstract concepts. They are measurable, audible problems that degrade every take you commit to tape. If you are fighting your recordings on the mixdown, the battle was already lost at the source. Let’s break down exactly why that is.
The Physics of Room Acoustics (In Plain English)
At its core, sound is energy moving through air. When that energy hits a wall, some of it is absorbed, some is transmitted, and the rest is reflected back into the room. Your recording setup is not just capturing the direct sound from the source — it is also capturing every bounced, delayed, and colored version of that sound.
Reflections and Early Reflections
Imagine shouting in a canyon. The first echo you hear is an early reflection — it arrives within milliseconds of the direct sound. In a control room or vocal booth, early reflections off a desk or side wall hit your microphone or ears almost instantly. They combine with the direct signal and create constructive or destructive interference. This is what causes that hollow, phasey quality you hear in untreated recordings.
Standing Waves and Modal Resonances
Low frequencies behave differently than high frequencies. In a small rectangular room, bass waves bounce between parallel walls. When the distance between two walls matches half the wavelength of a particular frequency, that frequency gets reinforced. Walk two feet to the left and it disappears. This is a standing wave, or room mode. It means your low end is never flat — certain bass notes will boom while others vanish entirely.
Reverberation Time and Flutter Echo
Reverb time (RT60) measures how long it takes for sound to decay by 60 dB. In a live, untreated room, this time is unpredictable. Flutter echo is the rapid, metallic ping-pong of sound between two parallel hard surfaces. Clap your hands in a tiled bathroom — that ringing is flutter echo. Now imagine that sound integrated into your acoustic guitar take. It’s not ambiance. It’s noise.
How Bad Room Acoustics Destroy Your Recordings
Let’s get specific. Here is exactly what happens when you track in a bad room.
Comb Filtering from Desk Reflections
You set your microphone on a desk, facing the singer. The desk surface is maybe three feet below the capsule. The direct sound hits the mic first. The reflected sound off the desk travels an extra six feet and arrives a few milliseconds later. These two signals combine, and certain frequencies cancel out while others get boosted. The result looks like the teeth of a comb on a frequency analyzer. Your vocal sounds thin and phasey, and no amount of EQ can fix the comb pattern because it changes with every slight movement.
Bass Buildup in Corners
Low frequencies are omnidirectional and long. Room corners act like megaphones for bass. Place a kick drum mic in a corner and that low-end thump becomes a boomy, uncontrolled mess. On playback, you hear the room resonance, not the source sound. This is why kick drums recorded in untreated rooms often require heavy subtractive EQ — you are trying to carve out the room’s fingerprint.
False Stereo Imaging
If you record a stereo source like an acoustic guitar or a piano in a room with uneven reflections, the stereo image collapses. One side sounds wider or louder because it is closer to a reflective wall. Instead of a natural spread, you get a lopsided illusion. You might compensate by panning harder, but the phase relationship is already compromised.
Exaggerated Sibilance from Flutter Echo
Flutter echo generally lives in the upper mids and highs. When you record a vocal with sibilant “s” and “t” sounds, those frequencies get trapped between parallel walls and ring out unnaturally. The result is a recording that sounds harsh and fatiguing. De-essers help, but they are treating the symptom, not the cause.
The Hidden Problem: Inaccurate Monitoring
Even if you are not recording in a live room, poor acoustics destroy your ability to make correct mixing decisions. If your listening position happens to fall in a bass null — a spot where a standing wave cancels out a certain frequency — you will not hear that bass. You will instinctively boost the low end to compensate. On headphones or in another system, that mix will be absurdly bass-heavy.
The opposite happens at a bass peak. You hear too much low end, so you cut it. Then your mix sounds thin everywhere else. This is the root of the phrase “it doesn’t translate.” You are not hearing what is actually in the signal. You are hearing what your room lets you hear.
I have watched experienced engineers spend hours fighting a snare drum sound, only to walk over to the listening position and realize the room was creating a 5 dB dip at 200 Hz. The mix sounded fine in the chair and terrible everywhere else. This is not a skill issue. It is a physics issue.
Proven Steps to Diagnose Your Room
Before you spend a dollar on acoustic treatment, you need to understand what your room is doing. Here are diagnostics that require nothing more than your ears and a few free tools.
The Clap Test
Stand in the center of the room and clap once loudly. Listen carefully. Do you hear a metallic ringing or a rapid repetition? That is flutter echo between parallel walls. Clap near different walls to find the worst offenders. This test alone reveals whether your room has a fundamental reflection problem.
The Sine Sweep
Use a tone generator app — Room EQ Wizard (REW) is free and excellent — and sweep a sine wave slowly from 20 Hz to 200 Hz. Walk around the room while the tone plays. You will hear certain frequencies get dramatically louder or quieter as you move. These are room modes. Mark the spots where the problem is worst. This is where your control position should definitely not be.
The Listening Position Check
Play a well-mixed reference track you know intimately. Sit in your usual listening position. Listen for exaggerated bass, missing mids, or overly bright highs. Now stand up and walk two feet forward. Does the bass change? Does the vocal become clearer? If the sound changes drastically with a small move, your listening position is compromised.
Affordable Fixes That Actually Work
You do not need a full room makeover with $5,000 acoustic panels to get usable results. Start with placement, then use simple, cost-effective treatments.
Speaker and Listening Position First
Move your monitors away from walls — at least 12 inches. Place the listening position one-third of the way into the room length. Form an equilateral triangle between the speakers and your head. This alone reduces early reflection problems and flattens the frequency response at the listening spot more than any budget panel will.
First Reflection Points
The spots on the side walls where you first see the speaker when looking from the listening position are called first reflection points. Hang a thick moving blanket or a heavy rug there. Even a bookshelf filled with unevenly placed books acts as a broadband diffuser. This tames the early reflections that cause comb filtering and smearing.
Corner Traps with Mineral Wool
Bass problems live in corners. You can build corner traps yourself using mineral wool panels (rockwool or OC 703) wrapped in breathable fabric. Place them in the corners behind your listening position. This is the single most effective low-budget treatment for tightening low end.

Do Not Over-Dampen
A dead room is not necessarily a good room. If you cover every surface with foam, the room becomes lifeless and unnatural. The goal is balance — tame the reflections that cause problems while preserving a natural sense of space. Thin foam panels kill high frequencies but do nothing for bass. They make a room sound dull while the low end remains boomy. Do not waste your money on cheap foam tiles.
The Takeaway: Your Room Is a Tool, Not a Limitation
Understanding room acoustics is not a one-time fix. It is a skill you develop over time. Every room has a sound, and learning to hear that sound separately from the source is what separates engineers who get consistent results from those who chase ghosts in the mix.
You do not need a perfect room. You need to know what your room is doing and set yourself up to work with it. Start with the diagnostics. Fix the worst problems. Test again. Your recordings will improve more from an hour of strategic room treatment than from swapping out a microphone preamp.
If you want a structured way to dial in your room without guessing, we have a free room setup checklist available for download. It walks through the placement, diagnostics, and treatment steps in order. Sometimes the best upgrade is not a piece of gear — it is understanding the space you already have. Make some noise — but make it clean.