Introduction: Build a Studio That Works for You
Walking into a music store or browsing gear online for the first time is overwhelming. Every shelf is stacked with promises—better preamps, warmer analog tone, pristine conversion. And almost none of that matters when you’re just trying to get your first vocal take to sit right in a mix.
This checklist exists to cut through the noise. It is built around a simple philosophy: a home studio should remove obstacles between you and making music, not create new ones. That means buying gear with intention, choosing versatility over boutique specs, and leaving room to grow. Whether you are tracking your first demo or upgrading a cramped bedroom setup, the gear here represents a practical, priority-driven path from zero to a functional recording environment.
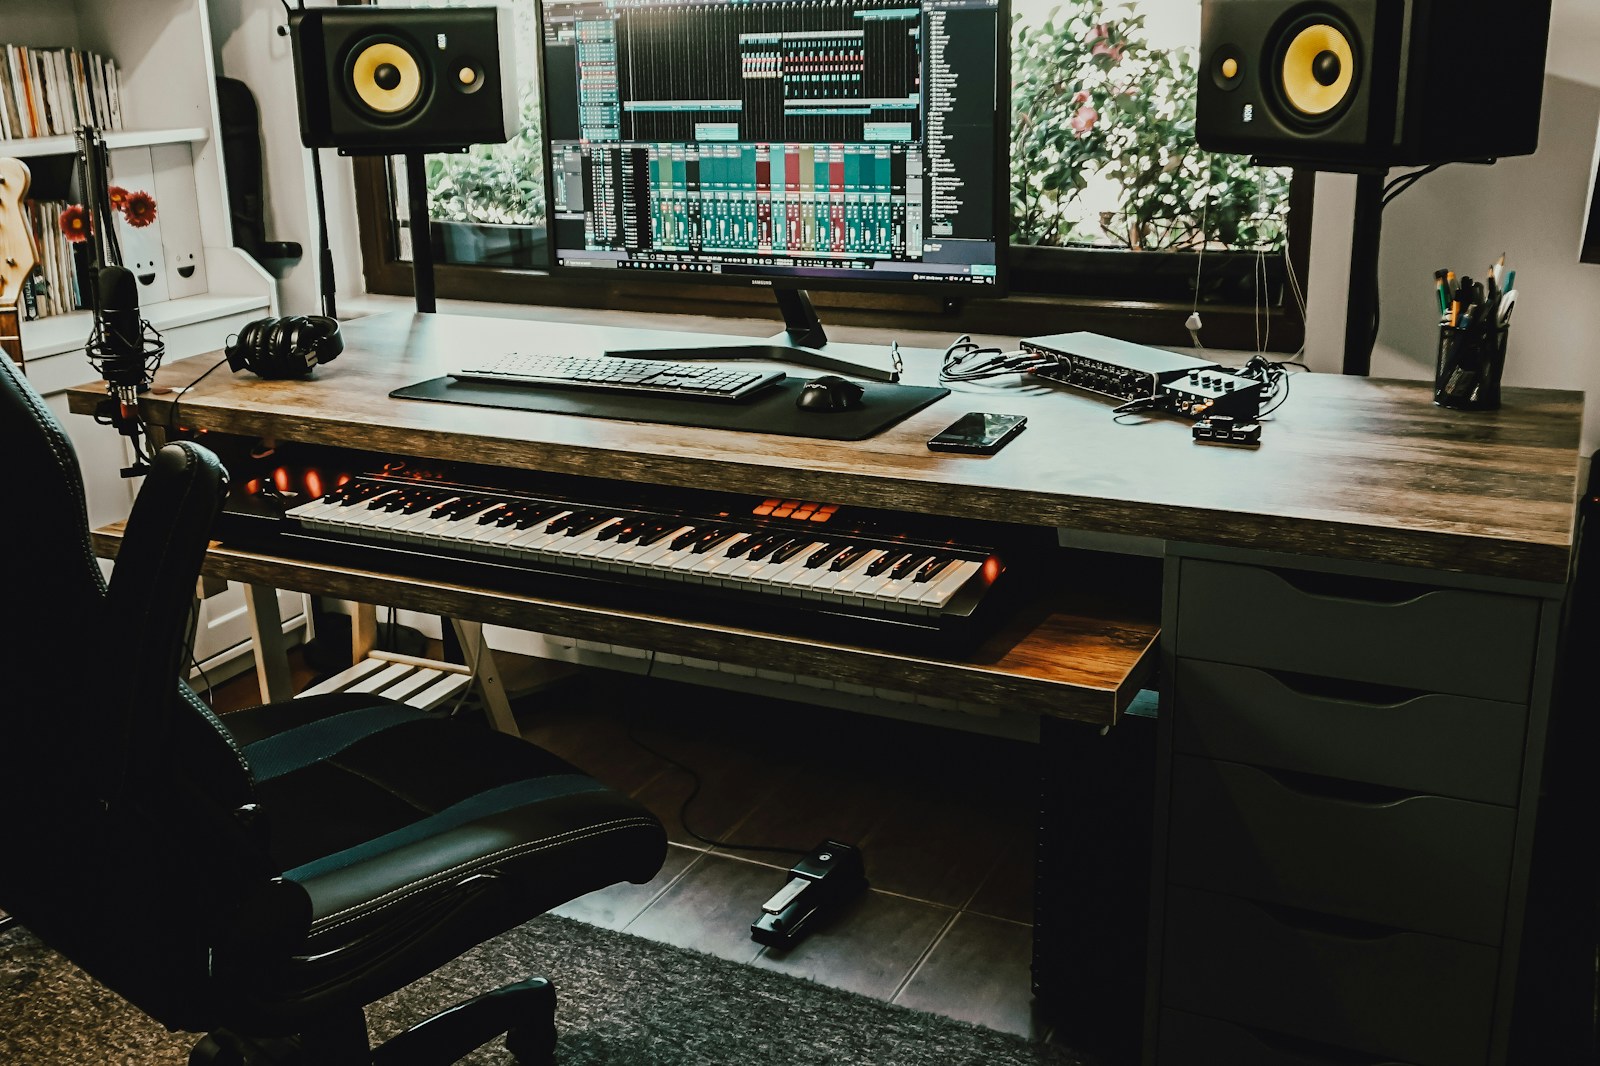
The Core Setup: What Every Home Studio Needs
Think of a minimum viable studio as a chain. Any weak link in that chain—a noisy interface, boxy monitors, a flimsy mic stand that wobbles mid-take—undermines everything else you invest in. The goal is balance. A $400 microphone will not sound better through a $50 interface, and expensive monitors cannot fix a room that hasn’t been treated at all.
The gear below forms the backbone of a reliable, mobile, and scalable setup. These are the components you should prioritize first, because everything else—compressors, outboard effects, secondary mics—is an addition, not a foundation.
1. Audio Interface
The audio interface is the command center of your home studio. It converts analog signals from your microphone and instruments into digital data your computer can work with, and it sends your mix back out to your monitors or headphones. A bad interface introduces noise, latency, and frustration. A good one disappears into your workflow.
When choosing an interface, focus on three things: the number of inputs (start with 2 if you record one source at a time, 4+ if you record stereo or dual mics), preamp quality (clean and loud enough for your microphone), and driver stability. Avoid bargain-bin interfaces with no driver support—they will crash mid-session.
Reliable entry-points include:
- Focusrite Scarlett 2i2 (4th Gen) — Industry standard for a reason. Clean preamps, solid build, and excellent driver support. Great all-rounder.
- Universal Audio Volt 2 — A step up in preamp quality with built-in analog compression. Ideal if you want a bit of character without external hardware.
- Audient iD4 MkII — Exceptional preamps for the price. Quiet, detailed, and musical. A favorite for vocal recording.
If you are on a tight budget, consider the Focusrite Scarlett Solo. It strips away one input but keeps the same core sound quality. Skip interfaces with fewer than two inputs—having one microphone input limits your growth too quickly.
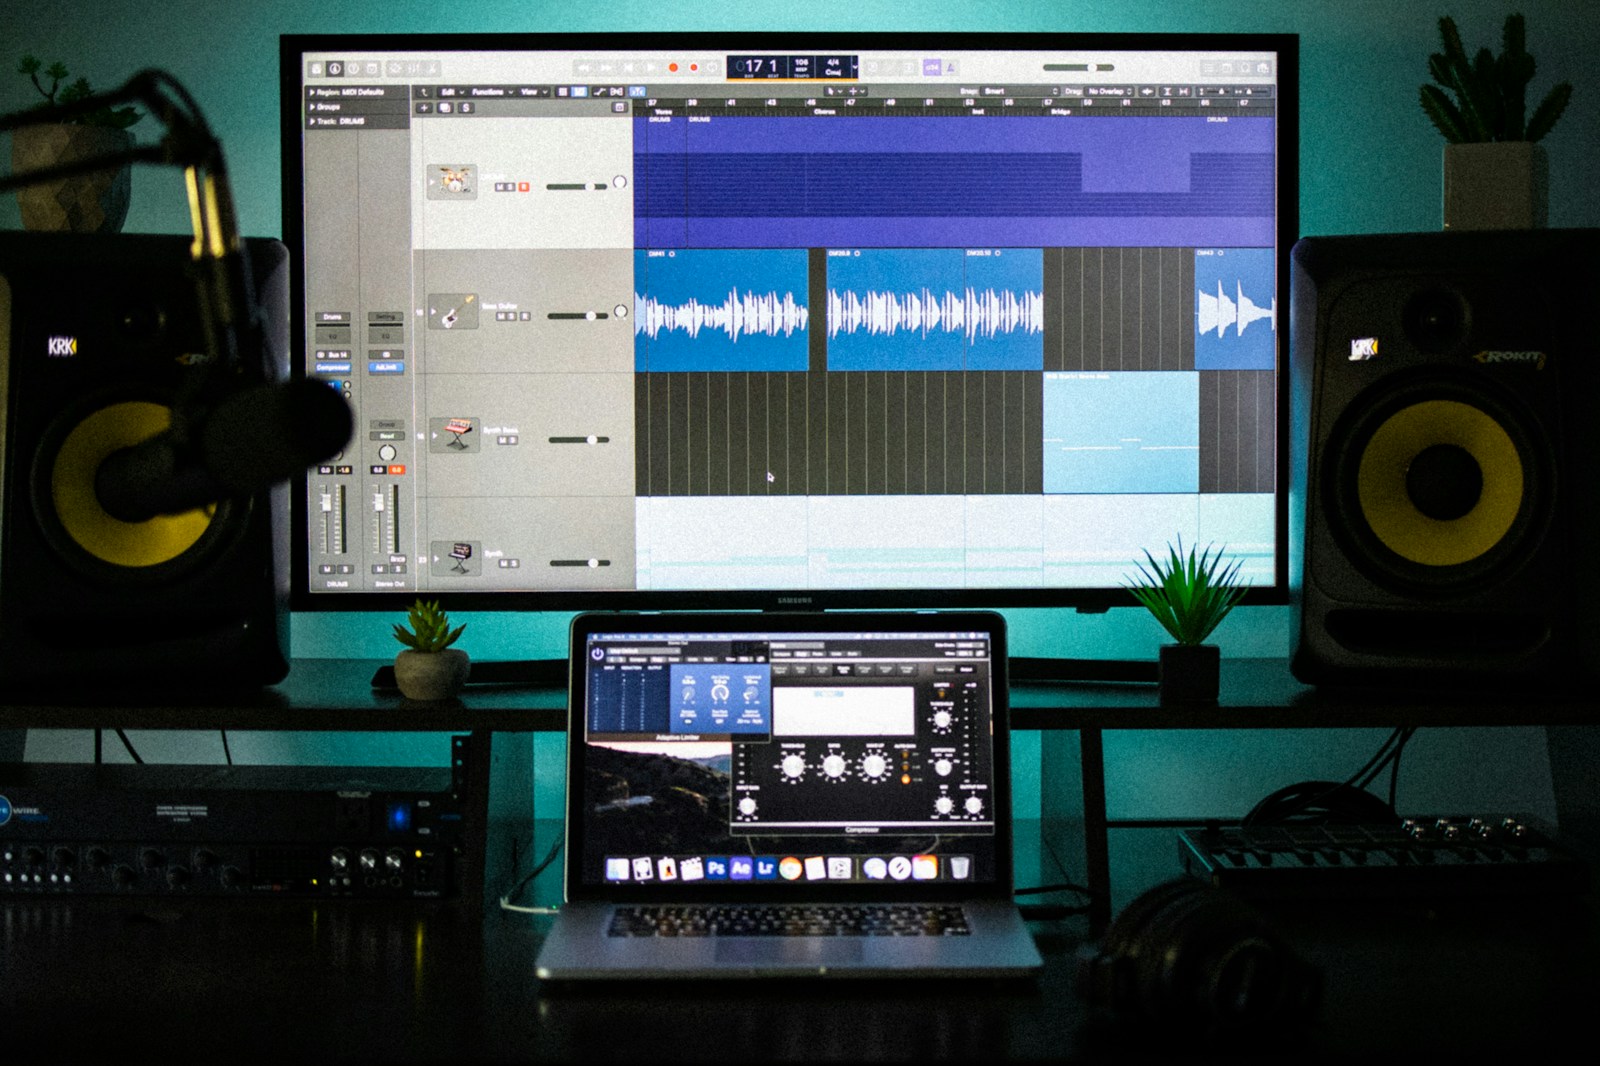
2. Studio Monitors
Accurate monitoring is how you make confident mix decisions. Consumer speakers and headphones flatter the sound—they boost bass and treble to sound exciting. Studio monitors aim for neutrality so you hear what is actually in your recording, not what the speaker manufacturer wants you to hear.
For most home studio rooms, a pair of 5-inch nearfield monitors is the sweet spot. Larger drivers (6.5 or 8 inches) push more low end but require more room treatment to sound accurate. If your room is untreated or small, start with 5-inch monitors and add a subwoofer later if needed.
Solid choices at different price points:
- Adam Audio T5V — Excellent clarity in the midrange and top end. The ribbon tweeter gives a wide, detailed soundstage. My personal recommendation for the price.
- KRK Rokit 5 G5 — Punchy low end and a flatter response than older generations. Good for producers working in genres where bass definition matters.
- Yamaha HS5 — Clinical and unforgiving. These will expose every flaw in your mix, which is exactly what you want when learning. Not fun to listen to, but brutally honest.
Place your monitors at ear height, forming an equilateral triangle with your listening position. Pull them a few inches from the wall to avoid exaggerated bass response. This single adjustment is more effective than many expensive acoustic panels.
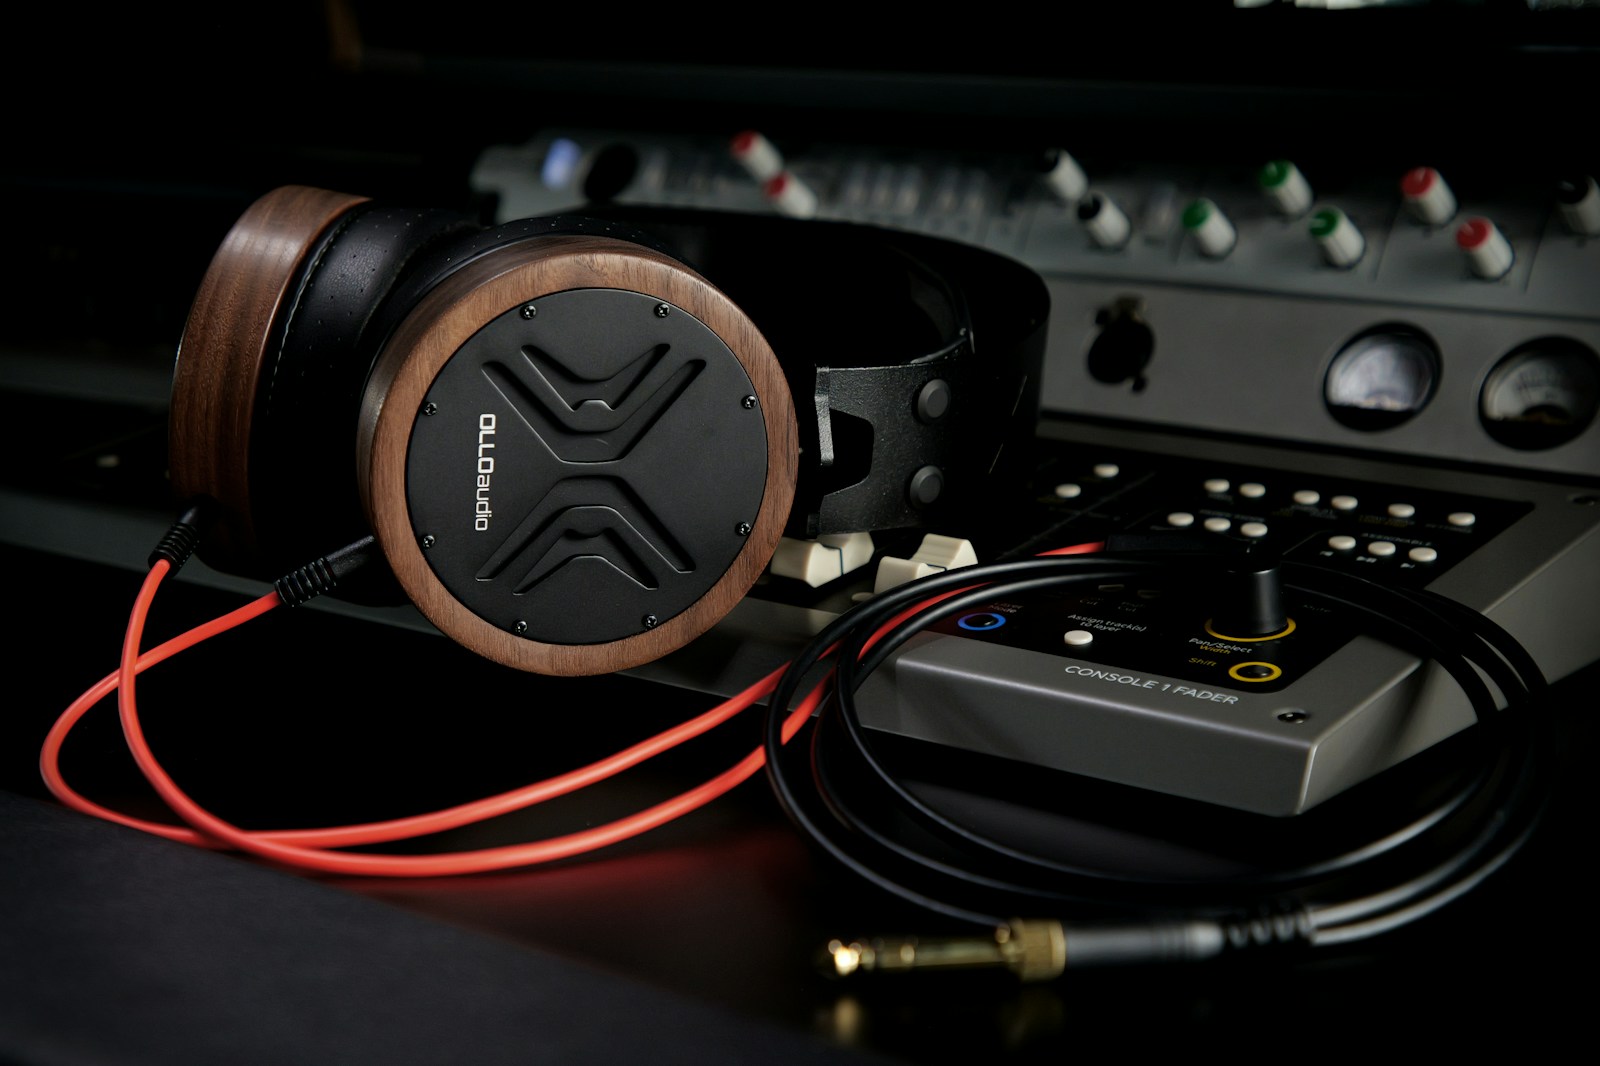
3. Headphones: Closed-Back & Open-Back
You need two types of headphones. This is not a luxury—it is a practical necessity once you start recording and mixing seriously.
Closed-back headphones are for tracking. They isolate sound so your microphone does not pick up the click track bleeding into the vocal take. A closed-back pair also lets you record in the same room as your monitors without acoustic feedback.
Open-back headphones are for mixing. They have a wider, more natural soundstage and longer listening comfort. Open-back designs avoid the bass buildup and resonance that closed-back headphones introduce, making them more reliable for critical listening.
Affordable and pro picks:
- Closed-back (Tracking): Audio-Technica ATH-M50x — Industry staple. Balanced, comfortable for long sessions, and decent isolation for the price.
- Closed-back (Budget): Sony MDR-7506 — Legendary durability and clear mids. A studio classic for under $100.
- Open-back (Mixing): Beyerdynamic DT 900 Pro X — Wide soundstage, detailed, and comfortable for hours. A strong entry-level mixing can.
- Open-back (Pro): Sennheiser HD 600 — Reference-level neutral response. Used in mastering rooms. Requires a headphone amp to sound their best.
If you can only afford one pair, start with closed-back (ATH-M50x or MDR-7506). They are more versatile for recording and will serve you well early on. Add an open-back pair when your mixes start to feel stuck.
4. Microphones: The Essentials
You do not need a closet full of microphones to get good recordings. Two well-chosen mics—one dynamic, one condenser—cover almost every scenario a home studio producer encounters: vocals, acoustic guitar, guitar amps, drums, podcasts, and voiceover.
Dynamic microphones are rugged, handle high sound pressure levels (louder sources), and reject background noise. They are the workhorses of any studio.
Condenser microphones are more sensitive and capture more detail and high-frequency information. They need phantom power (supplied by your audio interface) and are best suited for vocals and acoustic instruments in a quiet room.
The two-mic starter kit:
- Shure SM57 — The most recorded microphone in history. Use it on guitar cabinets, snare drums, and even vocals in a pinch. Indestructible and $99 new.
- Audio-Technica AT2020 — A side-address condenser that punches far above its price. Clear, detailed, and reliable for vocals and acoustic instruments. Great for beginners.
If your primary focus is vocal recording, consider the Shure SM7B. It is a dynamic mic with a signature presence boost that works exceptionally well for spoken word and singing in untreated rooms. It requires a strong preamp or a Cloudlifter to reach proper levels—account for that in your budget.
5. MIDI Keyboard / Controller
Even if you do not play piano, a MIDI controller is one of the fastest upgrades to your workflow. It replaces clicking notes into a piano roll with real-time performance. That immediacy changes how you write drum patterns, basslines, and chord progressions. You move faster and make more musical decisions.
What to look for:
- Keys: 25 keys is enough for basslines, leads, and simple chords. 49 keys gives you a usable range for two-handed playing.
- Velocity sensitivity: Essential for dynamic playing. Avoid mini-key controllers without aftertouch unless you strictly program drums.
- Pads: Drum pads are useful for sketching beats but not mandatory. Focus on key feel first.
Reliable options:
- Arturia KeyLab Essential 49 — Excellent key feel for the price. Includes software bundle with analog synth emulations. Well-built and versatile.
- Akai MPK Mini Mk3 — A compact 25-key controller with pads. Perfect if you are short on desk space and primarily program music.
- Nektar Impact LX49+ — Deep DAW integration. Works seamlessly with Logic, Ableton, Cubase, and others. Great workflow-centric design.
You can produce entire albums without a MIDI controller. But you will spend more time mouse-clicking and less time creating. For $100–$200, it is one of the highest-ROI investments in your studio.
Essential Accessories You Shouldn’t Overlook
The gear you record through is only half the picture. The other half is how it all connects, sits, and stays quiet. Small weaknesses in your signal chain or setup accumulate fast. Fix them early.
Cables and stands matter more than you think. Cheap XLR cables fail at the solder point mid-session. Flimsy mic stands sag under a heavy condenser microphone. Spend a little more here once, and you avoid frustration for years.
- XLR cables: Buy 10-foot and 20-foot Mogami Gold or GLS Audio cables. Balanced, shielded, and durable.
- Mic stand: Get a K&M 210/9 boom stand. Heavy base, smooth clutch, and tall enough for standing vocals.
- Pop filter: A simple metal mesh pop filter (Stedman Proscreen is a favorite) stops plosives and protects your condenser mic.
- Shock mount: Many condenser mics come with one. If not, buy one. It isolates vibration from footfall and desk rumble.
Acoustic treatment basics: You do not need to turn your bedroom into a recording booth. Start with absorption panels at the first reflection points (the walls to your left and right when sitting at your monitors) and a bass trap in a corner. Two or four panels from Auralex or GIK Acoustics make a noticeable difference. Avoid mattress foam—it only absorbs high frequencies and leaves your mids and lows ringing.
Your computer is the most critical piece of gear you already own. A MacBook Air with an M-chip or a Windows laptop with a modern i5/i7 and 16GB RAM handles most projects. Do not buy a new computer specifically for recording unless yours is genuinely struggling. More CPU power just means more plugins and virtual instruments. You can make great music on modest hardware.
What’s Worth Skipping (At First)
Every home studio builder makes the same mistake: they buy gear that fixes problems they do not have yet. You will not hear the difference a high-end converter makes until your monitoring chain is flawless. Outboard compressors are not helpful when you are still learning how compression sounds and feels. And a $500 microphone pointed at an untreated wall will still sound like an untreated wall.
Skip these until your studio is stable and your skills are ahead of your gear:
- Expensive analog preamps — The preamps in a Focusrite Scarlett or Audient iD4 are clean and capable. Adding a $600 channel strip now will not improve your recordings more than a better room or a better mic technique would.
- High-end AD/DA converters — The difference between entry-level and pro conversion is real, but it is subtle. You will hear it on pristine monitoring systems. On a bedroom setup, it is wasted money.
- Boutique microphones — A $300 condenser from a reputable brand (Audio-Technica, Rode, sE Electronics) is more than good enough to produce professional-sounding vocals. The law of diminishing returns hits hard past $500.
- Vintage compressors and equalizers — Wonderful tools for experienced engineers. Confusing and expensive for beginners. Use plugins until you know exactly what hardware compression does and why you want it.
- Monitors larger than 5 inches — Unless your room is treated and you need low-end extension for mixing bass-heavy genres, a 5-inch monitor paired with a subwoofer is more flexible than a single 8-inch monitor.
- Excessive plugin bundles — A single good EQ, compressor, reverb, and delay are all you need to start. The stock plugins in your DAW are fine. Buy plugins when you hit specific creative walls, not because they are on sale.
Trust dictates that I tell you: the best gear upgrade you can make is learning how to use what you already have. A mediocre microphone placed well in a decent room sounds better than a premium microphone used poorly. Spend money on skills before hardware.
Budget Tiers: Starter, Intermediate, and Upgrade Paths
Below are three budget-friendly gear combinations that form coherent, balanced studios. Prices are estimates and vary by region and retailer. Affiliate links are included where they help you find these products easily, but there is no obligation to buy through them.
Starter Tier (Approx $600–$900)
- Audio Interface: Focusrite Scarlett 2i2
- Monitors: KRK Rokit 5 G5 or Adam T5V
- Headphones (Tracking): Audio-Technica ATH-M50x
- Microphone: Audio-Technica AT2020 + Shure SM57
- MIDI Controller: Akai MPK Mini Mk3
- Accessories: 2-pack GLS XLR cables, K&M mic stand, pop filter, 2 foam absorption panels
This setup covers vocals, acoustic instruments, guitar amps, and basic beat production. Everything works together out of the box.
Intermediate Tier (Approx $1,200–$1,800)
- Audio Interface: Universal Audio Volt 2 or Audient iD14 MkII
- Monitors: Adam Audio A5X or Yamaha HS5
- Headphones (Tracking): Sony MDR-7506
- Headphones (Mixing): Beyerdynamic DT 900 Pro X
- Microphone: Shure SM7B + Cloudlifter or sE Electronics sE2200
- MIDI Controller: Arturia KeyLab Essential 49
- Accessories: Mogami Gold XLR cables, K&M 210/9 stand, Stedman Proscreen pop filter, Auralex Studiofoam panels (4 pieces)
This tier gives you a quieter noise floor, more microphone options, separate mixing and tracking headphones, and a room treatment plan. It is the sweet spot for serious home producers.
Upgrade Path to Pro Tier (Approx $3,000+)
- Audio Interface: RME BabyFace Pro FS or Universal Audio Apollo Twin X
- Monitors: Neumann KH 120 or Genelec 8040B
- Headphones: Sennheiser HD 600 + Beyerdynamic DT 770 Pro
- Microphone: Neumann TLM 103 or Warm Audio WA-87
- MIDI Controller: Native Instruments Komplete Kontrol S49 or Arturia KeyLab 49 MkII
- Room Treatment: GIK Acoustics bass traps and broadband panels (full kit)
At this level, you are investing in transparency and longevity. The gear will not hold you back no matter how complex your projects become.
Your Next Steps: From Checklist to First Recording
Gear lists are easy to obsess over. Actually setting up a microphone, opening a DAW, and recording a vocal is the only part that matters. So do not wait until you have everything on this list. Start with whatever gear you have—even if that is just a laptop and a USB headset—and make something imperfect.
A simple three-step plan to get moving:
- Step 1: Set up your audio interface. Connect your microphone (any condenser or dynamic), enable phantom power if needed, and adjust the gain so your loudest peaks hit around -12dB on the interface meters.
- Step 2: Record a simple vocal or instrument take in your DAW. Do not overthink it. Just capture the audio cleanly.
- Step 3: Mix it roughly with stock plugins. Apply a high-pass filter, some compression to even out levels, and subtle reverb. Listen on your monitors, then on headphones, then on phone speakers.
You will notice problems—room reflections, plosives, an uneven vocal tone. That is the point. Those problems become your learning targets. Add gear only after you can name exactly what is missing from your recordings.
This checklist is a starting point, not a finish line. Your studio will evolve as your skills grow. The goal is not to own every piece of gear, but to own the one that unlocks your next creative breakthrough. Trust your ears, ignore the hype, and keep recording.